

Mount Rainier National Park: The Perfect One-Day Itinerary
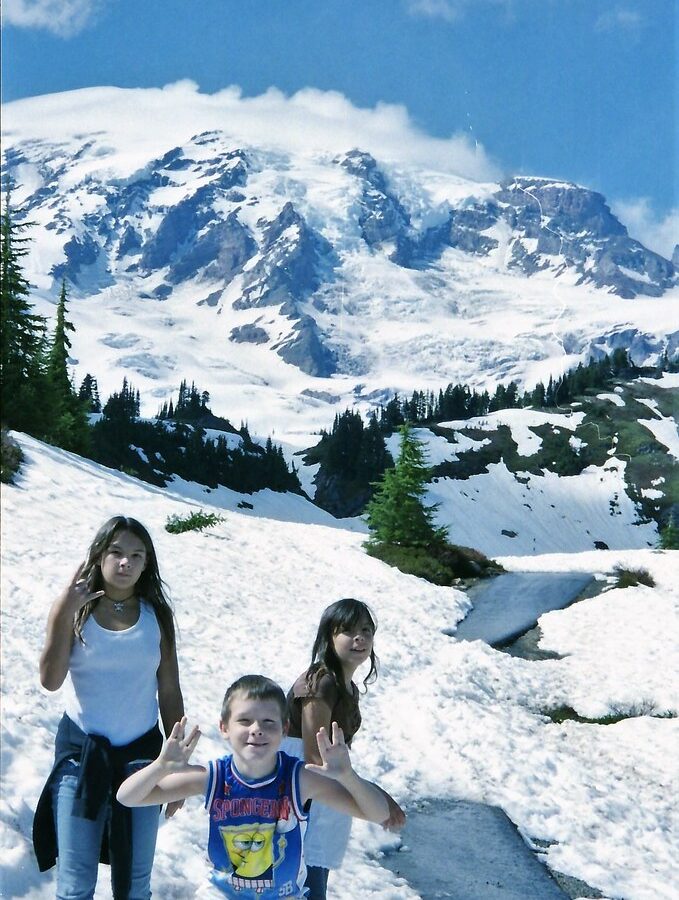
Photo: Stabbur's Master via Flickr (CC BY-SA 2.0)
Mount Rainier National Park works best as a one-day trip when you concentrate on the Paradise corridor, begin at the Nisqually Entrance, and avoid trying to combine Paradise with Sunrise. A summer route can continue east through Stevens Canyon toward Ohanapecosh, creating an efficient traverse with waterfalls, old-growth forest, glacier views, and one substantial hike. When Stevens Canyon Road is closed, return through Longmire instead.
This plan suits a first visit and assumes roughly 10 to 12 hours inside or near the park. Mount Rainier rises to 14,410 feet, but the developed roads remain far below the summit. Paradise sits near 5,400 feet, where snowfields, subalpine meadows, and views of the Nisqually Glacier make the mountain’s elevation and glacial scale immediately apparent.
Why This One-Day Mount Rainier National Park Route Works
Paradise delivers the strongest first-day overview
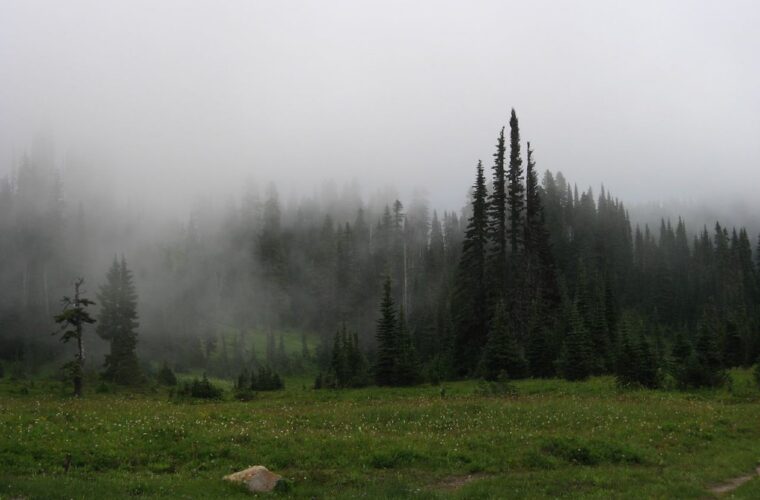
The Nisqually to Paradise corridor packs several distinct environments into a relatively short drive. You begin among Douglas fir, western red cedar, and western hemlock near the park’s southwestern boundary. The road then climbs past Longmire and Narada Falls into subalpine terrain shaped by deep winter snow. From Paradise, trails provide close views of the Nisqually Glacier, the Tatoosh Range, Mount Adams, and, in clear conditions, Mount St. Helens.
Paradise also provides flexible hiking choices. The 5.5-mile Skyline Trail loop gains approximately 1,700 feet and requires several hours, while the Nisqually Vista Trail covers about 1.2 miles with far less climbing. Visitors with limited time can walk toward Myrtle Falls and return after approximately 1 mile, preserving enough daylight for Reflection Lakes and Box Canyon.
Sunrise belongs in a separate itinerary
Sunrise reaches about 6,400 feet on Rainier’s northeastern side and offers excellent views of Emmons Glacier, but adding it to this route creates excessive driving. There is no short road over the mountain between Paradise and Sunrise. Combining both areas can consume several hours behind the wheel, especially when summer traffic slows near entrances, trailheads, and scenic pullouts.
For one day, geographic discipline produces a better visit. Use Paradise for hiking and the Stevens Canyon corridor for roadside scenery. Choose Sunrise instead only when approaching from the Seattle area through Enumclaw and Chinook Pass, or when high-elevation roads on the Paradise side are affected by closures.
Mount Rainier National Park One-Day Itinerary at a Glance
The schedule below assumes an early summer or early autumn start, open seasonal roads, and no extended meal stop. Drive times represent normal moving time between locations. They exclude entrance queues, wildlife delays, photography, and parking searches, all of which can substantially lengthen a busy weekend visit.
| Day | Stop | Primary highlight | Approximate drive time |
|---|---|---|---|
| Day 1, early morning | Nisqually Entrance | Historic entrance and old-growth forest | Starting point |
| Day 1, morning | Longmire | Trail of the Shadows and park history | 15 minutes |
| Day 1, morning | Narada Falls | 168-foot waterfall | 25 minutes |
| Day 1, late morning | Paradise | Skyline Trail or a shorter meadow walk | 10 minutes |
| Day 1, afternoon | Reflection Lakes | Mountain reflections and lakeshore views | 10 minutes |
| Day 1, afternoon | Box Canyon | Deep gorge cut by the Muddy Fork | 25 minutes |
| Day 1, late afternoon | Ohanapecosh corridor | Low-elevation forest and river scenery | 25 minutes |
Plan Your Mount Rainier National Park Schedule Around Parking and Daylight
Reach the Nisqually Entrance early enough to arrive at Paradise during the morning. Parking pressure generally increases as the day advances, particularly on clear summer weekends. Starting early also improves the chance of seeing Mount Rainier before afternoon clouds build around the summit. In July and August, heat rising from surrounding valleys often produces cloud cover even when the morning begins clear.
Separate essential stops from optional detours
Paradise, Narada Falls, and one old-growth stop form the core itinerary. Reflection Lakes and Box Canyon are valuable additions when Stevens Canyon Road is open. If parking, weather, or hiking takes longer than expected, shorten the day in this order:
- Skip minor roadside pullouts with obstructed mountain views.
- Choose Nisqually Vista instead of the complete Skyline Trail.
- Omit Reflection Lakes when fog or wind eliminates reflections.
- Return through Longmire rather than continuing across Stevens Canyon if daylight is running short.
Mount Rainier National Park Logistics to Settle Before Leaving
Choose the correct entrance and navigation method
The Nisqually Entrance lies on State Route 706 east of Ashford and provides the most direct approach to Longmire and Paradise. Navigation apps sometimes suggest seasonal or minor roads without accounting for snow closures, gate schedules, or slow mountain driving. Download the park map and offline directions before leaving reliable cellular coverage.
Entrance procedures, reservation systems, road openings, fees, and visitor facility hours can change by season and year. Confirm current details on the official park site before departure, with particular attention to Nisqually access, Paradise parking, Stevens Canyon Road, and any timed-entry requirement.
Plan fuel, food, and connectivity outside the park
Fill the tank before entering the mountain corridor. Fuel is unavailable in the park, and backtracking consumes valuable hiking time. Carry breakfast, lunch, water, and a late-day snack rather than depending on food service at a specific facility. Ashford is the practical supply stop for a Nisqually approach, while Packwood serves travelers exiting toward the southeast.
Pack for a 5,000-foot elevation change
- A waterproof shell and insulating layer, even when lowland forecasts predict warmth
- Two liters of water per person for a moderate hike, plus additional water kept in the vehicle
- Sun protection, because snow and pale volcanic rock intensify reflected light
- Footwear with dependable traction for wet pavement, loose rock, and lingering snow
- A paper or downloaded map for areas without cellular service
Follow the Mount Rainier National Park Morning Route from Nisqually to Paradise
Begin among old-growth trees at Longmire
From the entrance, follow the Nisqually River upstream to Longmire at approximately 2,761 feet. The community developed around mineral springs discovered by James Longmire in the nineteenth century and later became an early administrative center for the park. The short Trail of the Shadows loop passes spring-fed wetlands, forest, and traces of the area’s resort history without committing the morning to a long hike.
Limit this stop to about 30 minutes if you intend to complete the Skyline Trail. The forest here provides useful ecological context: massive conifers thrive in the wet western foothills, while the thinner, snowier environment around Paradise supports mountain hemlock, subalpine fir, meadow plants, and scattered tree islands.
Walk to the base viewpoint at Narada Falls
Narada Falls drops 168 feet where the Paradise River spills over resistant andesite lava. The upper viewpoint is close to the road, but the lower viewpoint provides the complete two-tiered perspective after a short, steep descent. Spray frequently wets the path and viewing area, creating slippery footing. Allow about 25 minutes for the walk and photographs, then continue uphill before the main Paradise parking areas fill.
Use the morning for the Paradise trail system
At Paradise, choose a trail according to weather, snow cover, and available time. The Skyline Trail is the strongest option for experienced hikers because it climbs toward Panorama Point, approximately 6,800 feet above sea level. Shorter alternatives include the Nisqually Vista Trail and the route toward Myrtle Falls, both of which deliver glacier or mountain views without the Skyline loop’s sustained ascent.
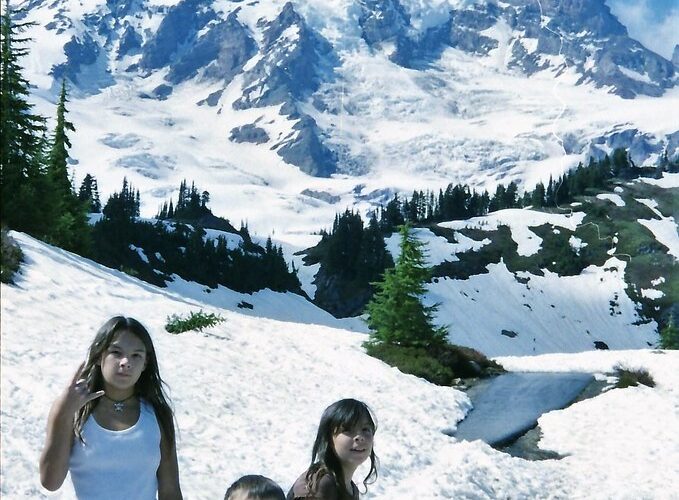
Near Myrtle Falls, the paved path gives way to steeper trail, water runs loudly through Edith Creek, and cool air settles over lingering snow patches. Mount Rainier fills most of the northern sky rather than appearing as a distant peak. Above the meadow, dark lava ridges divide bright glaciers into separate rivers of ice, making the mountain’s scale easier to understand than it is from the road.
Complete the Afternoon Traverse Through Stevens Canyon
Pause briefly at Reflection Lakes
Reflection Lakes sits below the road between Paradise and Stevens Canyon. The classic view looks north across the water toward Mount Rainier, with Pinnacle Peak and the rest of the Tatoosh Range behind you. Calm mornings produce the clearest reflection, but an afternoon stop still provides a useful perspective on the mountain’s broad southern face. Stay on established paths because trampling damages the shallow-rooted plants around the shoreline. Mosquitoes can be persistent after snowmelt, so keep repellent accessible rather than buried in the vehicle.
Look into the gorge at Box Canyon
The Muddy Fork of the Cowlitz River has carved a narrow gorge approximately 180 feet deep at Box Canyon. A short loop crosses the river and follows polished bedrock marked by glacial striations. These grooves formed when rock embedded in moving ice scraped across the volcanic surface. The canyon viewpoint requires little time, but the exposed rock can become slick during rain. Keep children close because the river is fast, silty with glacial sediment, and confined between steep walls.
Choose between Ohanapecosh and an earlier exit
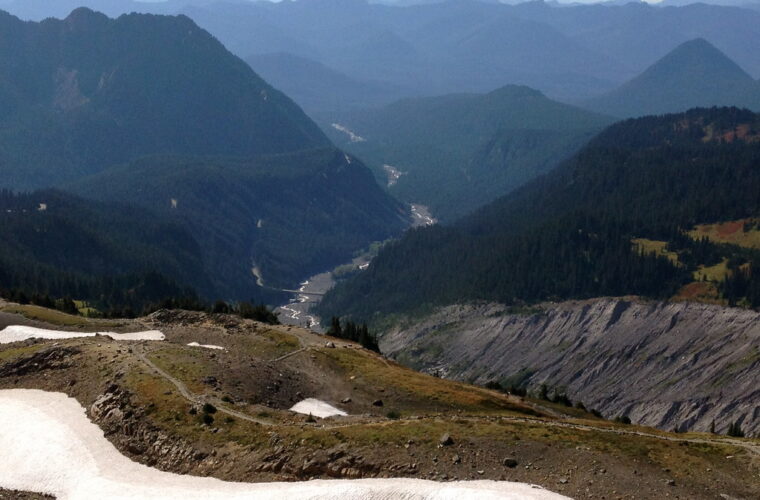
Continue to Ohanapecosh if at least two hours of daylight remain. The area lies near 1,900 feet, considerably lower than Paradise, so temperatures are often warmer beneath western red cedar and Douglas fir. The roughly 3-mile Silver Falls loop follows the Ohanapecosh River to a powerful cascade squeezed through a rocky channel. After a full Skyline Trail hike, save Silver Falls for another visit and use the forest corridor as a scenic finish before driving toward Packwood.
Adjust the Plan for Rainier’s Short Seasons
Snow controls the practical calendar in Mount Rainier National Park. Paradise can retain substantial snow into early summer, while Stevens Canyon Road and other seasonal roads generally have a shorter operating season than the lower Nisqually corridor. Wildflowers commonly peak from late July into August, although timing shifts with snowmelt. By September, huckleberry foliage and mountain ash begin turning red and orange, daylight contracts, and overnight frost becomes increasingly likely.
| Season | Best route adjustment | Likely conditions |
|---|---|---|
| Late spring | Use Longmire and Paradise as an out-and-back route | Deep trail snow, wet forests, strong waterfalls |
| Summer | Complete the Stevens Canyon traverse | Open meadows, heavy traffic, variable wildfire smoke |
| Early autumn | Start early and shorten the final forest stop | Cool mornings, fall color, earlier darkness |
| Winter | Plan around Longmire and possible Paradise access | Chain requirements, plowing delays, limited hiking terrain |
Replace mileage with snow travel in spring
A trail that appears short on a summer map can take twice as long when buried beneath snow. Route markers may remain hidden, and boot tracks can lead toward steep slopes rather than the maintained trail. Choose Nisqually Vista or a conservative turnaround on the lower Skyline route if visibility is poor. Trekking poles and traction devices help on firm snow, but they do not replace navigation skills. Avoid stepping onto snow that bridges streams, where thinning surfaces can collapse without warning.
Protect the final hour of autumn daylight
September and October bring clearer air and fewer insects, but shaded roads can become icy before surrounding valleys freeze. Set a firm departure time before beginning the Paradise hike. If clouds cover the summit, focus on meadow color, glacial rivers, and old-growth forest rather than waiting indefinitely for a view. Carry a headlamp even on a roadside itinerary because a delayed hike or vehicle problem can extend the day beyond sunset.
Finish in the Right Direction
Sleep near the exit that matches tomorrow’s route
Travelers continuing east toward Yakima or south toward the Columbia River should look for lodging around Packwood after leaving the Ohanapecosh corridor. Motels, cabins, vacation rentals, and campgrounds provide the main options. Visitors returning toward Tacoma or Seattle should reverse course before Stevens Canyon and stay around Ashford, where the Nisqually approach begins. Choosing lodging beside the correct exit prevents an unnecessary drive around the mountain the following morning.
Use clear turnaround rules
Mountain weather, parking congestion, and slower hiking can disrupt even a carefully timed schedule. Decide in advance which stops can be removed without compromising the core experience. Practical turnaround triggers include:
- Leave Paradise early if thunder develops or visibility deteriorates above the meadows.
- Return through Longmire if Stevens Canyon cannot be reached comfortably before evening.
- Skip Silver Falls after a strenuous Skyline Trail hike.
- Do not continue toward an unfamiliar exit with low fuel or without offline navigation.
A Practical One-Day Itinerary for Mount Rainier National Park
The strongest one-day route combines three landscapes without forcing a rushed circuit around the mountain. Longmire supplies old-growth forest and human history, Paradise provides the day’s primary hike and glacier views, and Stevens Canyon reveals lakes, volcanic bedrock, and the deep gorge at Box Canyon. Keeping Sunrise for another trip leaves enough time to walk rather than spending the afternoon connecting distant road systems.
Start early, select the Paradise trail before arrival, and treat the Ohanapecosh extension as flexible. Summer visitors with open roads can complete the full traverse and sleep near Packwood. During snow season or short autumn days, an out-and-back trip through Longmire preserves the essential stops. That structure gives the itinerary room to absorb changing weather, crowded parking, and slower trail conditions while still delivering a complete first look at Mount Rainier National Park.
Want to keep exploring? Browse all our Mount Rainier guides and articles for more trip-planning tips and ideas.
Gear & Essentials
Tell us about your trip and we will add what else you will want:
The basics
Worth having in the car whatever the park.
For this trip
Traveling with kids
Bringing a pet
RVing
Backcountry
Winter conditions
On the water
Photography
Accessibility
As an Amazon Associate we earn from qualifying purchases, at no extra cost to you.