Zion National Park Photography Guide: Best Spots and Times
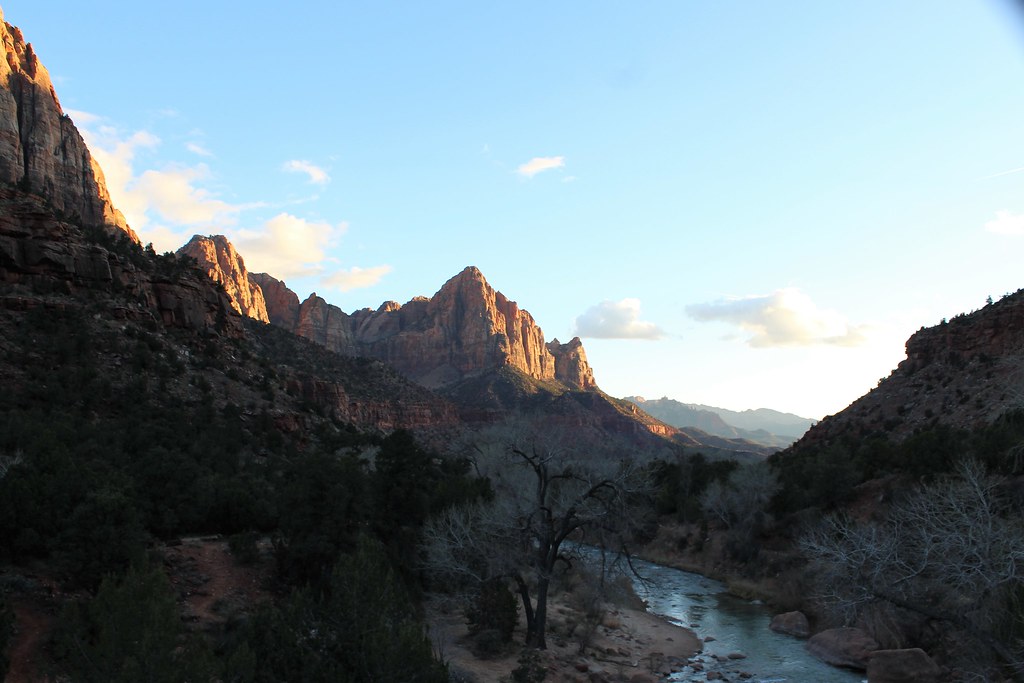
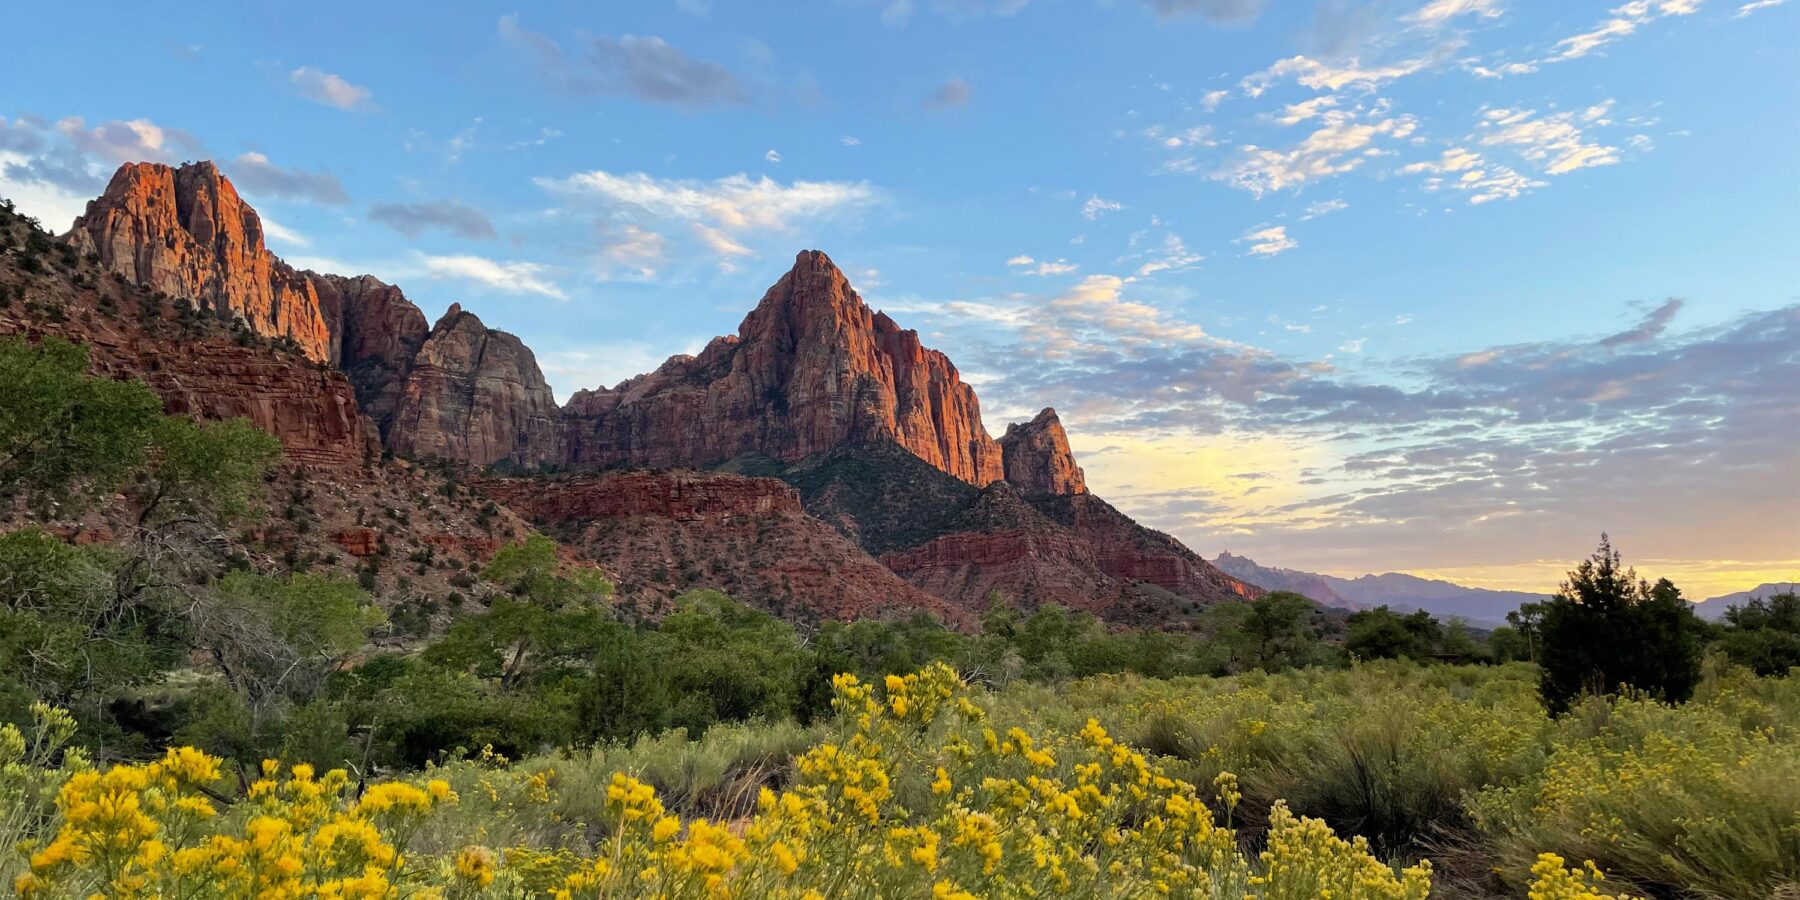
Photo: agcaddesigns.com Architectural Renderings via Flickr (CC BY 2.0)
Zion National Park photography begins with a canyon nearly 2,000 feet deep, where direct sunlight may reach the sandstone rim hours before it touches the Virgin River. That vertical scale makes timing unusually location specific. A sunrise viewpoint above the canyon can glow while the floor remains blue and cool, and a productive sunset composition may rely on reflected light rather than a visible sun.
Our guide explains where to photograph Zion’s major landscapes, how to reach each viewpoint, and when seasonal light favors particular subjects. The locations range from paved paths beside the Virgin River to Canyon Overlook Trail, a rocky one mile round trip above Pine Creek Canyon. We also account for shuttle access, limited parking, deep shadows, weather, and the practical challenge of composing among sheer Navajo Sandstone walls.
How Zion National Park Photography Depends on Canyon Geography
Zion Canyon runs roughly north to south, with the Virgin River enclosed by cliffs of Navajo Sandstone. Iron minerals color the rock cream, orange, red, and brown, while erosion has produced alcoves, hanging canyons, fins, and monoliths. The main canyon floor sits near 4,000 feet in elevation. Higher plateaus exceed 7,000 feet, so weather and vegetation can change sharply within a single frame.
Direct light, reflected light, and open shade
Early sunlight first reaches formations such as the West Temple, Towers of the Virgin, and Watchman. Lower walls remain in open shade until the sun climbs above the canyon rim. During that interval, sunlit sandstone reflects warm light onto opposing cliffs, creating softer color and less contrast than direct illumination. Reflected light is especially useful around Big Bend, the Court of the Patriarchs, and the Temple of Sinawava.
Midday can work well when the objective is geology rather than a broad vista. A polarizing filter helps separate white clouds from blue sky, but its effect can become uneven with an ultrawide lens. Expose for the bright sandstone and inspect the histogram for clipped highlights. Shadow detail is usually easier to recover than texture lost from a pale, overexposed cliff.
Access determines which light is practical
Zion Canyon Scenic Drive is commonly served by the park shuttle during busy parts of the year, restricting private vehicle access beyond Canyon Junction. Sunrise and blue hour plans therefore require careful attention to the operating season, first departure, bicycle access, and legal parking locations. Parking near Canyon Overlook is particularly limited. Confirm current fees, road access, shuttle schedules, permits, and trail conditions on the official park site before fixing a shooting schedule.
Zion National Park Photography Guide: Best Spots and Times at a Glance
The table below prioritizes dependable light rather than promising a single perfect minute. Canyon walls delay direct illumination, so the useful window often begins after the published sunrise or ends before the published sunset. In winter, the low sun reaches less of the canyon floor. In summer, it clears more walls but creates stronger contrast and a shorter transition from shade to harsh light.
| Location | Access and distance | Primary subject | Most useful light |
|---|---|---|---|
| Museum patio | Short paved walk from the museum area | Towers of the Virgin and West Temple | Sunrise through early morning |
| Pa’rus Trail | Paved trail, about 3.5 miles round trip | Watchman, Virgin River, cottonwoods | Late afternoon through blue hour |
| Court of the Patriarchs | Short, steep path from the shuttle stop | Abraham, Isaac, and Jacob Peaks | Morning reflected light |
| Big Bend | Roadside shuttle stop in upper Zion Canyon | Great White Throne and river bend | Late morning or reflected afternoon light |
| Temple of Sinawava | Scenic Drive terminus and Riverside Walk | River, hanging gardens, narrow canyon walls | Open shade and autumn reflected light |
| Canyon Overlook | Rocky one mile round trip with drop offs | Pine Creek Canyon and West Temple | Sunrise and early morning |
Seasonal golden hour and blue hour
Winter sunrise comes late and at a southerly angle, often favoring Towers of the Virgin and east facing walls while frost persists beside the river. Spring brings increasing daylight, fresh cottonwood leaves, and variable storm light. Summer sunrise is early, and photographers should be positioned 30 to 45 minutes beforehand. Autumn provides yellow cottonwoods from late October into November, though color progression varies with elevation and weather.
- Morning blue hour: Begin 30 to 45 minutes before sunrise for cool sandstone, balanced sky brightness, and quieter foregrounds.
- Morning golden hour: Watch high rims first, then recompose as sunlight descends across fins and towers.
- Evening golden hour: Work river corridors where cottonwoods and reflective water soften the high contrast.
- Evening blue hour: Remain about 20 to 35 minutes after sunset for even cliff color and vehicle light trails where photography is safely permitted.
Classic Watchman and Lower Canyon Compositions
The lower canyon contains Zion’s most recognizable views and offers the easiest transition between several subjects. The Watchman rises to 6,545 feet east of the Virgin River, while Bridge Mountain and the Towers of the Virgin dominate views closer to the park entrance. These locations work particularly well when changing weather produces broken clouds, snow on upper ledges, or fresh rain that intensifies sandstone color.
Zion National Park Photography at the Pa’rus Trail
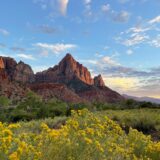
The Pa’rus Trail follows the Virgin River between the visitor center area and Canyon Junction. Multiple bridges and riverbank openings provide views toward the Watchman without requiring photographers to stand along a busy road. Walk the route in daylight before attempting blue hour, since the strongest composition may involve leaving one bridge for a lower river angle while remaining on durable or established surfaces.
Near sunset, use cottonwoods, bends in the river, or dark volcanic boulders as foreground anchors. A shutter speed between roughly one quarter second and two seconds can suggest current while retaining water texture. Longer exposures turn the river featureless and allow wind to blur leaves. After rain, check for muddy water and debris before expecting clean reflections.
Towers of the Virgin from the museum area
The open ground behind the museum provides a broad view of the Towers of the Virgin, including the Sundial, Witch Head, Broken Tooth, and Meridian Tower. Dawn light arrives on the upper formations before spreading downward. A moderate telephoto lens isolates the illuminated towers, while a wider lens can include low desert vegetation and the dark mass of the West Temple.
Stand here at first light and the scale becomes physical. Cool air settles over the canyon floor, gravel presses underfoot, and the cliffs overhead remain muted purple until a narrow band of orange reaches the highest sandstone. The illuminated edge broadens slowly, revealing cross beds and vertical water stains while the foreground stays several stops darker.
Upper Zion Canyon and East Side Viewpoints
Upper Zion Canyon has tighter walls, more vegetation, and less direct sky than the lower valley. Box elder, Fremont cottonwood, bigtooth maple, and hanging gardens supply foreground detail around the river. The east side sits higher and exposes more of Zion’s slickrock structure, including domes, cross bedded slabs, and Checkerboard Mesa’s distinctive horizontal and vertical weathering patterns.
Big Bend and the Great White Throne
Big Bend looks across the Virgin River toward the Great White Throne, whose pale summit reaches 6,744 feet. A normal or short telephoto lens compresses the river corridor against the monolith and makes climbers or California condors visible when present. Scan cliff edges before assembling a tripod, because condors may circle on rising midday thermals and disappear behind the wall within minutes.
Temple of Sinawava and the Riverside Walk
The paved Riverside Walk extends about one mile each way from the Temple of Sinawava toward the beginning of the Narrows. Open shade allows slower, deliberate photography of water, sandstone, moss, and hanging vegetation. Reflected light can turn one wall orange while the opposite wall remains cool, producing natural color contrast without direct sun entering the composition.
River technique in the narrow canyon
Use a circular polarizer selectively. It can remove glare from wet rocks and reveal submerged stones, but full polarization may erase reflections that communicate the canyon’s color. Shoot one frame with stronger polarization and another with some surface sheen. Keep the tripod out of the active channel when water is rising, and treat muddy water, floating debris, or a sudden temperature change as warning signs of upstream runoff.
Canyon Overlook above Pine Creek
Canyon Overlook Trail begins east of the Zion Mount Carmel Tunnel and gains roughly 160 feet on its one mile round trip. The path crosses exposed ledges, sandy rock, and a shaded alcove before reaching a west facing view over Pine Creek Canyon. At sunrise, sidelight reveals the curved slickrock walls, while Bridge Mountain, the West Temple, and lower canyon formations provide layered distance.
Composing Around Zion’s Vertical Scale
Zion’s walls often occupy most of the frame, leaving only a narrow strip of sky. Level the camera carefully when using lenses wider than 24mm, since even a slight upward tilt makes parallel cliff lines converge. That distortion can support a deliberately dramatic composition, but accidental convergence makes formations such as Angels Landing and the Great White Throne appear to lean backward. A tripod head with a bubble level helps separate perspective choices from setup errors.
Build depth with overlapping canyon walls
From Big Bend, Canyon Overlook, and the east side pullouts, use a telephoto lens to stack illuminated and shaded walls. Atmospheric haze between those layers supplies tonal separation, particularly after rain or during cool mornings. Focus about one third into the scene and use f/8 to f/11 rather than the smallest aperture, which can soften fine sandstone texture through diffraction. Vertical frames suit narrow fins, while horizontal frames explain how formations connect across the canyon.
Use geology as foreground structure
On Zion’s east side, cross bedding creates diagonal lines that lead toward Checkerboard Mesa, slickrock domes, and isolated ponderosa pines. Place the nearest line close to a lower corner rather than centering it. Along the Virgin River, rounded cobbles and cottonwood trunks perform the same job. Avoid trampling biological soil crust, recognizable as dark, knobby ground between plants. This living community stabilizes desert soil and can take decades to recover from a footprint.
Water, Weather, and Wildlife Subjects
Rain briefly changes the range of possible Zion National Park photography. Wet Navajo Sandstone becomes more saturated, shallow potholes may hold reflections, and temporary waterfalls can descend from high alcoves. Photograph these features from established trails or safe roadside positions after the storm has passed. A waterfall appearing above a drainage does not mean the drainage is safe, since runoff can arrive from rainfall far beyond the visible canyon.
Control motion without erasing it
For small cascades and the Virgin River, begin near one half second and adjust according to flow. Faster water may retain useful texture at one quarter second, while shaded trickles can require several seconds. Stabilization should usually be disabled when the camera is locked to a tripod. Make additional frames at faster shutter speeds because moving cottonwood leaves, grasses, and floating debris can undermine an otherwise sharp long exposure.
Photograph wildlife behavior responsibly
Desert bighorn sheep are frequently associated with the slickrock east of the tunnel, while mule deer often feed near canyon meadows around dawn and dusk. California condors may soar near Angels Landing, Big Bend, and high cliff rims. Use a 300mm or longer lens, remain on established surfaces, and allow the animal to control the encounter. Feeding, approaching, or blocking its route changes natural behavior and can draw wildlife toward roads.
Gear for Sandstone, Dust, and Rapid Weather Changes
A useful Zion kit covers approximately 16mm to 200mm. Wide lenses handle constrained river corridors, while telephoto lenses isolate reflected light, climbers, wildlife, and geological patterns. Carrying two camera bodies reduces lens changes in windblown sand. If only one body is available, turn the camera off, point the mount downward, and complete each change inside a clean bag or sheltered location.
- Tripod: Choose a stable model with independently adjustable legs for rock, gravel, and uneven riverbanks.
- Polarizer: Use it for wet sandstone and foliage, while checking ultrawide frames for uneven sky color.
- Lens cloth and blower: Remove dust with air before wiping, since sandstone grit can scratch coated glass.
- Rain cover: Protect controls during brief showers and dripping conditions along the Riverside Walk.
- Spare batteries: Cold mornings at higher viewpoints reduce battery performance, especially during long exposures.
Prepare for elevation and temperature differences
A dawn session on the canyon floor can feel markedly colder than an afternoon among the exposed slickrock east of the tunnel. Pack thin gloves that preserve access to camera controls, sun protection, and water even when the lower canyon feels cool. Keep a cold camera sealed in its bag when entering a warm vehicle or room, allowing it to warm gradually so condensation forms on the bag rather than inside the lens or body.
Use a repeatable field sequence
Arrive with enough time to identify escape routes, stable tripod positions, and distracting branches before the light changes. Then work from broad compositions toward details. Capture a base exposure, inspect highlight warnings, bracket when bright sky and shaded walls exceed the sensor’s range, and finish with telephoto studies of cross beds or illuminated ledges. This sequence protects the essential frame while preserving time for less obvious subjects.
Plan the Light, Then Adapt to the Canyon
Effective Zion photography starts with a location matched to the sun’s angle and a realistic access plan. Use sunrise for elevated overlooks and east facing towers, reflected light for the enclosed upper canyon, and late afternoon through blue hour along the Pa’rus Trail. Clouds, runoff, autumn foliage, and temporary snow can alter that plan, so bring focal length options rather than relying on one predetermined composition.
The canyon rewards close observation as much as punctual arrival. Watch where reflected color develops, how river glare changes when the polarizer turns, and where overlapping walls separate into distinct layers. Protect biological soil crust, maintain distance from wildlife, and leave drainage channels when weather deteriorates. With those habits, a Zion National Park Photography trip can produce strong landscape, detail, water, and wildlife images across several seasons without sacrificing safety or the terrain being photographed.