
How to Plan a Sunset Visit to White Sands National Park
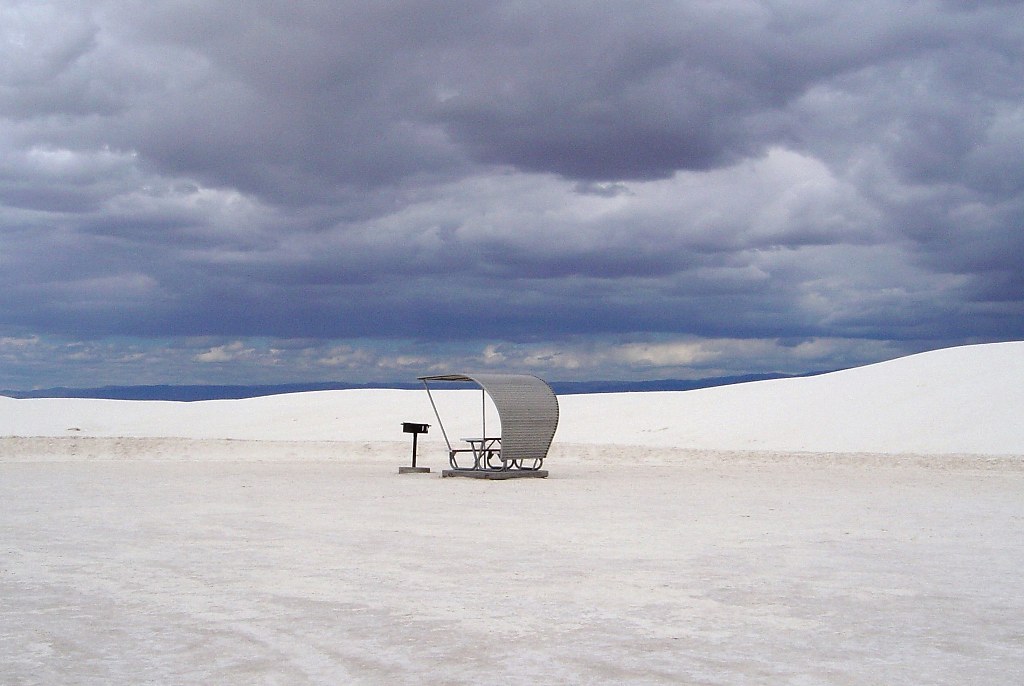
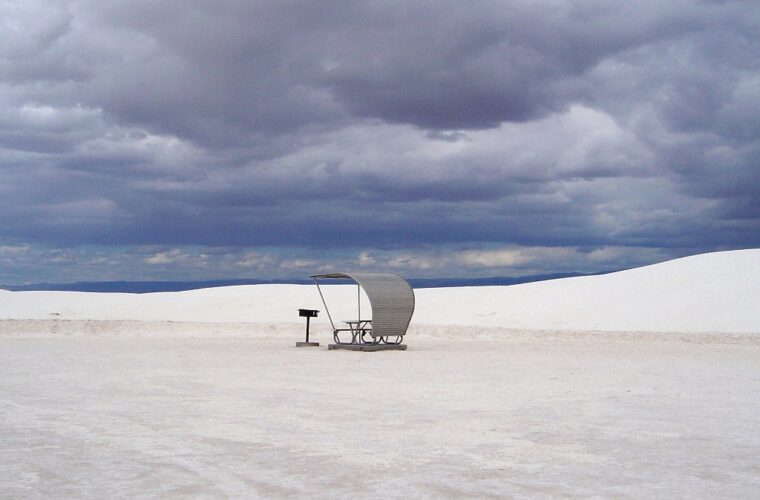
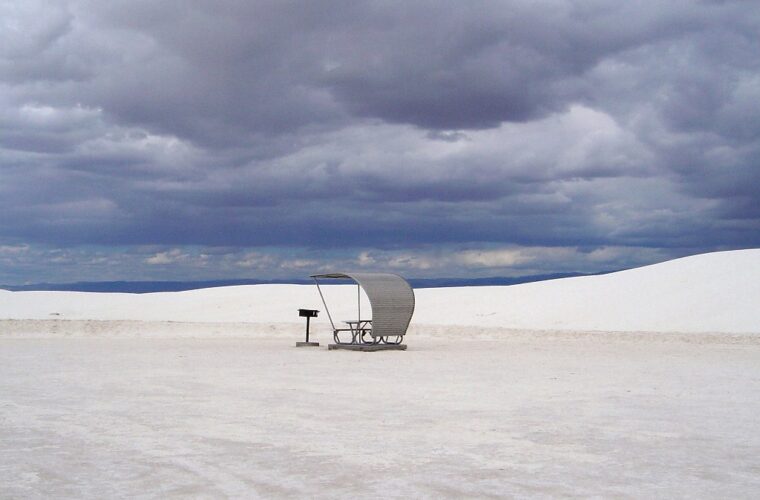
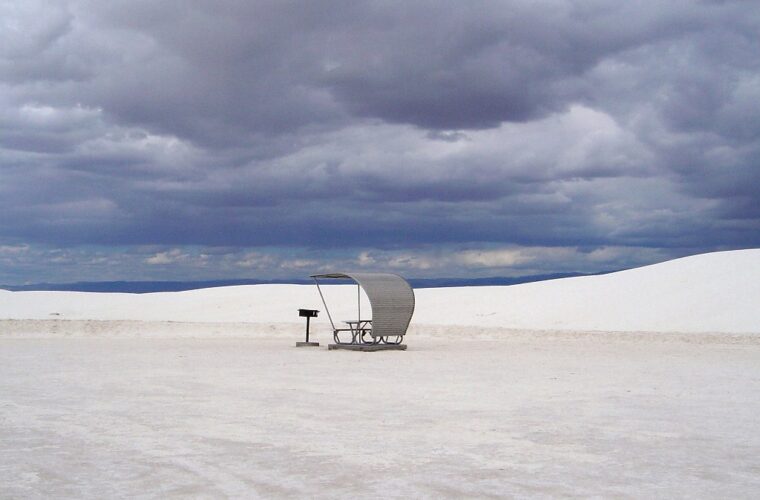
Photo: Road Travel America via Flickr (CC BY 2.0)
Knowing how to plan a sunset visit to White Sands National Park begins with one crucial fact: the entrance gate and park closing time can limit how long you have after the sun drops. The park protects roughly 275 square miles of gypsum dunes in southern New Mexico’s Tularosa Basin, with public access concentrated along the 8-mile Dunes Drive. Sunset turns the white gypsum blue, pink, and amber while the San Andres Mountains form a dark western horizon.
Our guide explains when to arrive, how seasonal light changes, and which locations give photographers the strongest combinations of open dunes, mountain backdrops, wind patterns, and accessible routes back to the road. White Sands sits near 4,000 feet above sea level, so winter cold, summer heat, rapid darkness, and desert wind all affect the plan.
Plan Your White Sands Sunset Around Park Hours
Understand the Road and Landscape
Dunes Drive begins near the visitor center beside U.S. Highway 70 and travels into the dunefield for about 8 miles. The first portion is paved; farther in, the surface becomes compacted gypsum. Ordinary passenger cars generally travel it, but wind can push loose sand across the roadway and reduce traction. Allow about 25 minutes to reach the western loop without stops, then add time for parking, scouting, and walking into the dunes.
The dunefield occupies a closed basin between the San Andres Mountains to the west and the Sacramento Mountains to the east. Gypsum washed from the surrounding mountains accumulated in Lake Lucero and adjacent playas. As water evaporated, selenite crystals formed, broke into grains, and migrated northeast under prevailing winds. That movement creates the repeating slip faces, ripples, and dune ridges that make useful foregrounds at sunset.
Work Backward from the Gate Deadline
Check the day’s sunset, entrance cutoff, and park closing time before leaving Alamogordo or Las Cruces. White Sands may close for nearby missile range testing, and access rules, current fees, hours, programs, and road conditions can change, so confirm them on the official park site. Highway 70 can also be temporarily blocked during tests, affecting both arrival and departure.
- Choose a shooting area before entering so scouting time does not consume the best light.
- Reach the selected parking area 75 to 120 minutes before sunset.
- Walk into the dunes while directional sunlight still reveals tracks, ripples, and dune edges.
- Set an alarm for the required turnaround time rather than relying on fading light as a cue.
- Leave enough daylight or twilight to follow the same route back to the vehicle.
Visitors often underestimate the return. A direct walk of half a mile can become slower after dark because dune crests hide the road, repeated ridges look alike, and footprints disappear in wind. Save the vehicle’s location offline, carry a headlamp, and note a fixed landmark such as a mountain notch or road bend. A phone light provides poor depth perception on steep slip faces.
Match the Season to the Light You Want
Golden Hour and Blue Hour by Season
White gypsum reflects far more light than ordinary tan sand, so usable color begins earlier and continues after direct sun leaves the dunes. During golden hour, low side light emphasizes ripples and casts clean shadows from soap-tree yuccas. After sunset, the dunes take on cool blue tones while the western sky remains orange or magenta. Blue-hour access may be brief because visitors must still comply with the park’s closing deadline.
| Season | Typical sunset range | Recommended arrival | Photographic conditions |
|---|---|---|---|
| Winter | About 5:00 to 6:00 p.m. | 75 to 90 minutes before sunset | Low sun angles, long shadows, cold wind, and clearer mountain detail |
| Spring | About 6:00 to 8:00 p.m. | 90 to 120 minutes before sunset | Strong texture, frequent wind, blowing gypsum, and changing cloud cover |
| Summer | About 8:00 to 8:20 p.m. | At least 90 minutes before sunset | Hot approaches, possible storm clouds, lightning risk, and softer light after storms |
| Autumn | About 5:00 to 7:30 p.m. | 75 to 105 minutes before sunset | Cooling temperatures, lower sun angles, and generally comfortable walking conditions |
These clock times are approximate because daylight saving time and the date within each season matter. Use a sun-position app to check both azimuth and elevation. Around the June solstice, the sun sets farther northwest; near the December solstice, it sets farther southwest. That shift determines which dune ridges align with the brightest sky.
Wind, Clouds, and Recent Foot Traffic
Wind can improve or ruin a session. Moderate wind erases footprints and sharpens ripple patterns, but stronger gusts carry abrasive gypsum that reaches lens barrels, tripod locks, and open camera compartments. Cloudless evenings produce graphic shadow patterns and clean gradients. Broken clouds can catch color after sunset, while a solid western cloud bank may extinguish direct light well before the published sunset.
Weekend afternoons and holiday periods usually leave more tracks near roadside pullouts. Walk perpendicular to the busiest approach rather than directly behind other visitors, but stay within sight of recognizable terrain. The Alkali Flat area often provides broader, less disturbed compositions because the dunes become larger and vegetation grows sparse.
Choose a Sunset Location Before You Arrive
The Western Loop for Open Dunes
Alkali Flat Trail
The Alkali Flat Trail is a strenuous 5-mile loop beginning near the far end of Dunes Drive. Despite its name, the route repeatedly climbs and descends steep dunes before approaching the flat basin floor. Sunset photographers rarely need the full loop. Walking 15 to 30 minutes from the trailhead can reach high ridges with broad views toward the San Andres Mountains, but navigation becomes serious once the trail markers are difficult to see.
On a high crest, gypsum grains shift under each step and the dry surface squeaks softly beneath shoes. The wind feels cooler than it did beside the road, with no trees to interrupt it. As the sun reaches the San Andres skyline, shadow advances across each slip face one ridge at a time. The apparent simplicity of the landscape disappears, revealing dozens of overlapping curves and hollows.
Roadside Pullouts on the Loop
The western loop has multiple pullouts where visitors can enter open dunes without committing to a long trail. These are efficient choices for carrying a tripod or several lenses. Walk far enough to remove parked vehicles and road edges from the frame, then turn east as well as west. The eastern sky often becomes pink while the Sacramento Mountains catch the final light behind the dunes.
Shorter Walks Near the Front of the Park
Interdune Boardwalk
The Interdune Boardwalk extends roughly 0.4 mile round trip through a transition zone where dunes meet stabilized ground. It provides closer studies of gypsum-tolerant vegetation, animal tracks, and dune textures with less route-finding than open cross-country walking. The surrounding dunes are lower than those near Alkali Flat, so compositions rely more on plants, texture, and intimate details than uninterrupted horizons.
Dune Life Nature Trail and Playa Trail
The Dune Life Nature Trail is about a 1-mile loop through the dune margin, an ecologically richer area where tracks from kit foxes, rodents, birds, and reptiles may cross the sand. The Playa Trail is a short, roughly half-mile round trip to a seasonal depression. It works best when recent precipitation has left damp ground or shallow water capable of reflecting cloud color, though standing water is intermittent in this desert basin.
Plan the First Composition Before the Light Peaks
Use Dune Geometry as the Subject
Scout with the sun still high enough to reveal differences between windward slopes and steep slip faces. S-curves, diagonal ridgelines, and repeating crescents create stronger structure than a featureless expanse of white. A low camera position enlarges ripple patterns, but even small footprints then become prominent. Move around the edge of clean sand rather than crossing the foreground you intend to photograph.
Expose for the gypsum highlights rather than trusting the camera’s meter. Bright white sand can cause automatic exposure systems to render the scene gray, yet direct sunlight can still clip texture. Check the histogram and highlight warning, then bracket when the sky is much brighter than the shaded dune. Shoot RAW so white balance can be adjusted without losing the subtle transition from warm sky to cool gypsum.
Photograph Subjects Beyond the Dune Ridges
White Sands rewards photographers who look for temporary details as well as broad landscapes. Tracks, wind-carved ledges, isolated soap-tree yuccas, and cloud reflections provide scale that an empty field of gypsum can lack. Search for these subjects during the scouting period, then decide which one deserves the strongest light. Trying to photograph every possibility often leaves the camera in transit when color reaches its brief peak.
Reflections After Summer Rain
Shallow water occasionally collects in playas and interdune depressions after monsoon storms, especially from July into September. A polarizing filter can either suppress glare to reveal submerged gypsum or strengthen a reflection when rotated in the opposite direction. Position the lens close to the water so a small pool fills more of the frame. Avoid stepping near its edge before composing because footprints and churned mud remain visible long after the water disappears.
Long exposures can smooth rippled water and stretch moving clouds, but the bright gypsum shortens exposure times until late twilight. A three-stop neutral-density filter often provides enough control without forcing a several-minute exposure. Watch for lightning over the Sacramento Mountains. If thunder is audible, leave exposed dunes and return to the vehicle rather than continuing to work from a tripod.
Wildlife, Tracks, and Environmental Scale
Most desert mammals avoid exposed dunes during the hottest part of the day. Near sunset, kit foxes and small rodents may become active, while ravens and other birds cross the open sky. Never follow an animal across a dune or block its route. A 200mm or longer lens allows a small subject to remain part of the landscape while preserving distance.
Tracks are often easier to find than the animals themselves. Look along sheltered slip faces for lines made by insects, reptiles, birds, and mammals. Place the track diagonally through the frame and use side light to reveal its depth. White Sands also supports pale animals adapted to the gypsum environment, including the bleached earless lizard, although sightings depend heavily on temperature and season.
Protect the Camera and Yourself
Gypsum grains work into zoom rings, tripod joints, and bag zippers. Wind also sends fine particles against exposed lens surfaces. Keep the camera attached to one lens whenever practical, and make lens changes inside the vehicle or within a closed bag. Dust resistance reduces risk but does not make a camera immune to repeated exposure.
Build a Compact Field Kit
- Wide-angle lens: Use approximately 16mm to 35mm for foreground ripples, dune curves, and large skies.
- Short telephoto: A 70mm to 200mm lens compresses overlapping ridges against the San Andres Mountains.
- Tripod: Extend the thickest leg sections first and press the feet firmly into stable sand.
- Lens cloth and blower: Blow loose grains away before wiping glass to avoid scratches.
- Rain cover or sealed bag: Protect equipment from blowing gypsum and sudden summer showers.
- Headlamp and warm layer: Temperatures can fall quickly after sunset, particularly in winter.
Manage Wind, Cold, and Elevation
At roughly 4,000 feet, White Sands can feel cooler and drier than travelers expect from a desert basin. Carry water even for a short evening walk, and secure hats, filter cases, and lightweight tripod accessories before climbing a crest. In cold weather, keep a spare battery inside a jacket pocket because low temperatures reduce battery performance. During wind, shorten the tripod, disable lens stabilization when the camera is firmly mounted, and use a two-second timer to prevent vibration.
Turn the Scouting Walk into a Shooting Sequence
A reliable sunset session moves from texture to silhouette rather than waiting in one place. Begin with side-lit ripples, shift toward ridge lines as shadows lengthen, then expose for sky color after the sun disappears. This sequence is central to how to plan a sunset visit to White Sands National Park because each phase requires a different direction, focal length, and exposure strategy.
| Location | Best light | When to be ready | Primary subject |
|---|---|---|---|
| Alkali Flat approach | Low western side light | 45 to 60 minutes before sunset | Large ridges, compressed layers, mountain skyline |
| Western loop pullouts | Golden hour through early twilight | 30 to 45 minutes before sunset | Clean dune curves with a short return to the road |
| Interdune Boardwalk | Late side light | 45 minutes before sunset | Plants, tracks, and smaller dune forms |
| Playa Trail | Cloud color after rain | Before direct light leaves the basin | Reflections, damp gypsum, and open sky |
Finish with Blue-Hour Frames
After sunset, set white balance manually near 4,000 to 5,000 kelvin to prevent the camera from neutralizing the dunes’ natural blue cast. Begin around ISO 100, f/8, and a tripod-supported exposure, then lengthen shutter speed as the sky darkens. Include a yucca, ridge edge, or distant person for scale. Pure white balance and aggressive shadow recovery can flatten the separation between adjacent dunes.
Before leaving the final composition, photograph one horizontal frame, one vertical frame, and one tighter telephoto variation. Check the image edges for footprints, vehicles, and clipped ridges. Pack filters and loose accessories before starting back, while enough ambient light remains to inspect the ground and confirm the return direction.
Frequently Asked Questions
The practical questions below affect both safety and the amount of usable shooting time. Resolve them before driving into the dunefield, particularly when sunset falls close to the park’s required departure time.
Do I need a reservation for sunset?
Standard daytime entry has generally operated without timed reservations. Use the official park-site check described earlier for the current entrance rules, fees, closures, and any special sunset programs.
How long should I allow for a sunset visit?
Plan at least three hours inside the park: time to drive into the dunes, scout, photograph changing light, and return. Add more time if hiking beyond roadside pullouts.
Are dogs allowed in the dunes?
Pets can accompany visitors in many outdoor areas when restrained and controlled. Gypsum can become hot, so check the surface with a hand and carry water for the animal.
Can children join a sunset photography walk?
Yes, provided the route stays short and adults maintain close supervision. Open dunes contain steep drop-offs, and fading light makes it easy to lose sight of a child behind a ridge.
Can I use a drone for sunset photography?
Launching, landing, or operating drones is prohibited within National Park Service boundaries except under narrowly authorized circumstances. Plan to shoot from the ground with conventional camera equipment.
Leave with a Complete Set of Images
A productive evening begins with a fixed turnaround time, a preselected location, and one primary composition. Arrive early enough to protect clean foregrounds, watch how side light changes the ripples, and reserve several minutes for the cooler tones after sunset. A short, carefully scouted walk usually produces stronger work than a long hike that leaves no time to study the dunes.
Pack for gypsum, wind, rapid temperature changes, and a darker return than expected. Photograph broad ridges first, then refine the session with tracks, plants, reflections, silhouettes, or compressed mountain layers. That approach creates a varied sunset series while keeping navigation, equipment care, and the park’s departure deadline under control.
Want to keep exploring? Browse all our White Sands guides and articles for more trip-planning tips and ideas.
Gear & Essentials
Tell us about your trip and we will add what else you will want:
The basics
Worth having in the car whatever the park.
For this trip
As an Amazon Associate we earn from qualifying purchases, at no extra cost to you.