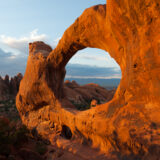
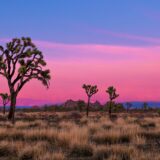
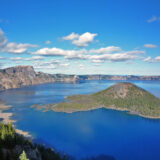
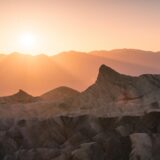
Stargazing in Rocky Mountain National Park: When and Where to See the Night Sky
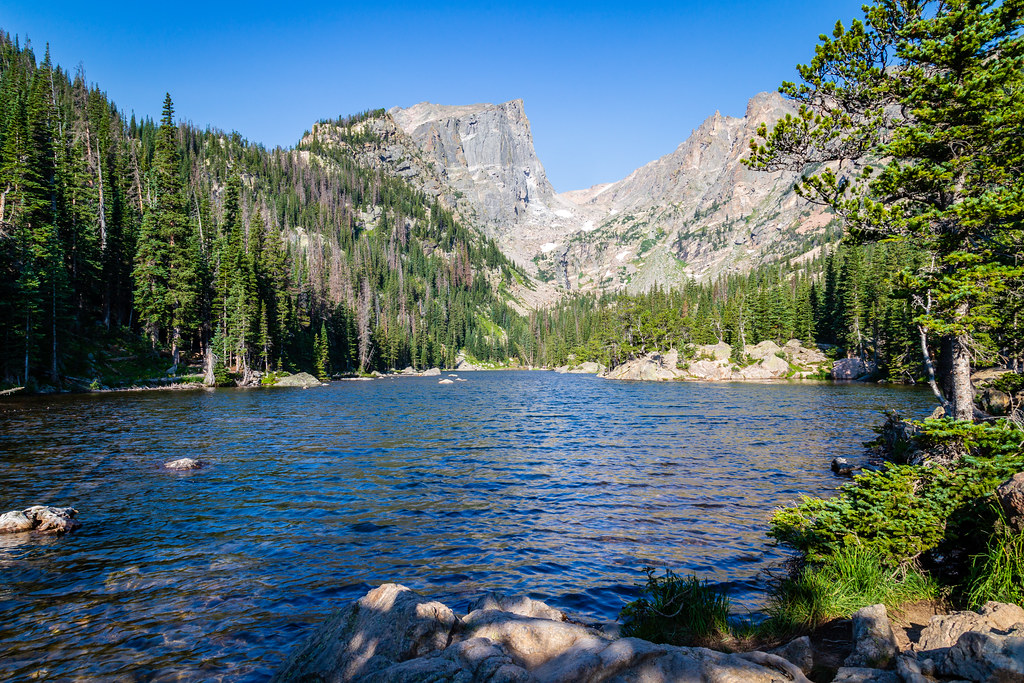
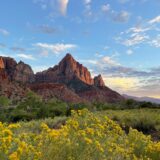
Photo: aparlette via Flickr (CC BY 2.0)
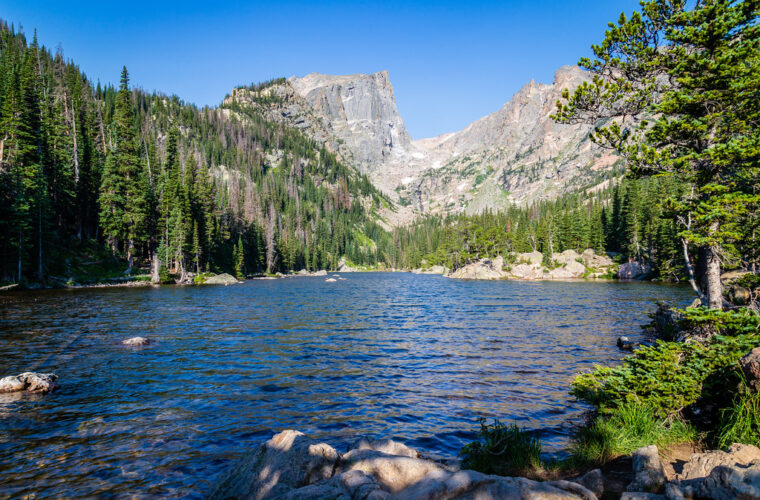
Stargazing Rocky Mountain National Park often works better from a sheltered meadow than from the highest reachable overlook. Trail Ridge Road climbs above 12,000 feet, but its alpine pullouts can bring fierce wind, fast cloud formation, freezing temperatures, and limited roadside space. Lower locations such as Moraine Park and the Bear Lake corridor provide steadier footing, recognizable mountain silhouettes, and enough open sky for the Milky Way.
The park spans elevations from about 7,630 feet to the 14,259-foot summit of Longs Peak. Thin, dry air improves transparency, while the Continental Divide blocks or redirects weather over surprisingly short distances. Successful night-sky plans therefore depend on elevation, moon phase, cloud cover, and which side of the Divide you choose, rather than simply finding the highest point on a map.
Why Stargazing in Rocky Mountain National Park Is Different
Altitude improves clarity but complicates the night
Higher elevations place less atmosphere, moisture, and airborne dust between you and the stars. On a clear night, that can sharpen the Milky Way’s mottled structure and reveal more stars around constellations such as Cygnus, Scorpius, and Sagittarius. Altitude also lowers temperatures quickly after sunset. A comfortable afternoon at 70 degrees Fahrenheit in Estes Park can lead to conditions near freezing along Trail Ridge Road, especially under clear skies when heat escapes rapidly from exposed ground.
Newly arrived visitors may also feel the elevation at relatively accessible locations. Bear Lake sits around 9,475 feet, while many Trail Ridge overlooks exceed 11,000 feet. Headache, dizziness, nausea, or unusual breathlessness are reasons to descend. Night photographers should avoid carrying unfamiliar equipment far from the vehicle until they know how their bodies respond to the altitude.
The Continental Divide creates two viewing regions
The park’s east side is reached through Estes Park and contains Bear Lake, Moraine Park, Sprague Lake, and the eastern ascent of Trail Ridge Road. It has the park’s best-known mountain compositions, including views toward Longs Peak, Hallett Peak, Flattop Mountain, and the Continental Divide. A low eastern glow from Colorado’s Front Range can be visible, especially when clouds or atmospheric haze reflect urban light.
The west side centers on the Kawuneeche Valley and the Grand Lake entrance. The broad valley provides open views framed by forested slopes, and western locations generally face away from the largest Front Range population centers. Moisture and cloud can differ markedly across the Divide, so a cloudy forecast for Estes Park does not always describe conditions near Grand Lake accurately.
When to Plan a Stargazing Trip in Rocky Mountain National Park
Match the season to the sky you want
At roughly 40 degrees north latitude, the park offers year-round views of circumpolar constellations such as Ursa Major and Cassiopeia. The bright central Milky Way is seasonal. Its core begins appearing before dawn in spring, becomes prominent during summer evenings, and shifts toward the southwestern horizon during early autumn. Winter replaces the galactic core with exceptionally bright constellations including Orion, Gemini, and Taurus.
| Season | Primary sky features | Typical ground conditions | Best general zone |
|---|---|---|---|
| March through May | Milky Way core before dawn, spring constellations after dusk | Snowpack, icy trails, rapidly changing storms | Accessible east-side valleys |
| June through August | Milky Way core during evening and late night, frequent meteors in August | Cold alpine nights, afternoon thunderstorms, busy corridors | Moraine Park, Bear Lake corridor, open Trail Ridge pullouts |
| September through October | Milky Way early in the evening, Pegasus and Andromeda later | Longer darkness, freezing temperatures, possible early snow | Kawuneeche Valley and lower eastern meadows |
| November through February | Orion, Pleiades, Sirius, winter Milky Way | Deep snow, ice, severe wind, seasonal road closures | Lower plowed areas near park entrances |
Moonlight can matter more than the month
A bright moon illuminates snowfields, peaks, and elk-filled meadows, but it washes out faint stars and much of the Milky Way. For dark-sky viewing, choose the period from several nights before new moon through several nights afterward. Moonrise and moonset times also matter. A night with a half moon can still provide excellent darkness if the moon sets before the galactic core reaches its best position.
Photographers may deliberately work around a crescent or quarter moon because angled moonlight reveals the shape of Hallett Peak, Longs Peak, or the Never Summer Mountains without overpowering the sky. Face away from the moon and use a mountain ridge to block direct glare. Snow reflects far more light than tundra or forest, making lunar conditions especially influential from late autumn through spring.
Build the evening around mountain weather
Summer thunderstorms commonly develop during the afternoon and may continue after sunset. Lightning can remain dangerous even when stars appear through breaks in the cloud. Check radar, cloud forecasts, wind at elevation, and lightning activity before leaving a sheltered valley. Autumn often brings longer stable periods, while winter’s clearest nights can coincide with strong winds and dangerously low wind chills.
- Arrive before dark to identify drop-offs, trail junctions, and legal parking spaces.
- Allow at least 20 to 30 minutes for your eyes to adapt to darkness.
- Use a dim red light rather than a white flashlight around other observers.
- Carry insulating layers, gloves, a warm hat, and traction when snow or ice is present.
- Download maps in advance because cellular coverage is unreliable inside the park.
Where to See the Night Sky in Rocky Mountain National Park’s East Side
Moraine Park provides the widest practical foreground
Moraine Park is a broad glacial valley west of the Beaver Meadows entrance, generally around 8,100 feet in elevation. Its open meadow gives observers a low horizon and broad views toward the Continental Divide. Glaciers widened this valley and left moraines along its edges, creating the open basin that now works well for meteor watching, constellation identification, and wide-angle photography.
Standing near the meadow after full darkness, the temperature drops first along the valley floor. Grasses rustle close to the road, the Big Thompson River is heard more easily than seen, and the Divide forms a black, uneven wall overhead. When a vehicle passes, its lights can erase faint stars for several minutes, so position yourself away from direct beams while remaining on durable ground.
What to expect around wildlife
Elk frequently use Moraine Park, particularly during the autumn rut. Give them substantial space and never move between animals or approach a bull for a photograph. Deer, coyotes, and smaller mammals may also cross roads after dark. Drive slowly enough to stop within the distance illuminated by your headlights.
Sprague Lake favors reflections and short approaches
Sprague Lake sits at approximately 8,710 feet along Bear Lake Road. A loop of roughly 0.8 mile circles the water, with views toward the Continental Divide. Calm conditions can produce reflected stars and mountain silhouettes, although slight wind is enough to break the reflection. The surrounding forest limits portions of the horizon, making this location better for composed views than for watching a meteor shower across the entire sky.
Night travel around the lake requires care because frost, packed snow, roots, and uneven shoreline surfaces can be difficult to judge under red light. Stay on the established route and keep light levels low near photographers. Current entrance procedures, timed-entry rules, road status, parking restrictions, and facility availability can change, so confirm current details on the official park site before setting out.
High-Elevation Stargazing Options in Rocky Mountain National Park
Trail Ridge Road reaches the alpine sky
Trail Ridge Road rises from montane forest through subalpine woodland and onto tundra, reaching 12,183 feet near its highest point. Roughly 11 miles of the road run above 11,000 feet. Forest Canyon Overlook, Rock Cut, and pullouts near the road’s crest provide expansive horizons, but exposure is extreme. Wind can shake tripods, vehicle headlights sweep across viewpoints, and temperatures can fall below freezing during summer.
The road crosses terrain where plants grow slowly and damage can persist for decades. Remain on paved surfaces, designated paths, or durable rock rather than stepping onto tundra for a clearer composition. Pikas and yellow-bellied marmots occupy nearby talus during daylight, while elk may remain near the roadway after dark. Seasonal snow closes the through-road for much of the year, leaving these sites primarily as summer and early autumn options.
Choose an overlook before darkness
Scout high-country viewpoints in daylight and note the direction of the nearest mountain ridges, parking boundaries, and road edges. Forest Canyon Overlook looks across a deeply glaciated valley toward the Divide, while locations farther west open toward the Never Summer Mountains. For Milky Way photography, use a planetarium application to determine where the galactic core will rise or set relative to those ridges.
Limit walking after dark because alpine weather can remove visual references within minutes. Fog, wind-driven snow, or low cloud can make a familiar pullout difficult to recognize. If visibility begins closing in, descend rather than waiting at the road crest, where wind and ice usually intensify first.
Stargazing in Rocky Mountain National Park’s Kawuneeche Valley
Coyote Valley opens toward the Never Summer Mountains
The Kawuneeche Valley follows the headwaters of the Colorado River north from Grand Lake. Near the Coyote Valley Trail, an open floodplain creates broad western and southern sightlines toward the Never Summer Mountains. The approximately 1-mile out-and-back path remains nearly level, although frost, snow, and darkness can complicate travel. Dense willow stands border the river and support moose, so scan the route with a low light before proceeding and retreat if an animal occupies the trail.
Milner Pass combines water, tundra, and the Divide
Milner Pass sits at 10,759 feet on the Continental Divide beside Poudre Lake. Its surrounding ridges block part of the horizon, but they can screen headlights and produce strong silhouettes beneath Cassiopeia or the northern Milky Way. Water leaving the lake flows toward the Mississippi River and Gulf of Mexico, while precipitation falling west of the Divide ultimately drains toward the Pacific. Expect colder conditions than in the Kawuneeche Valley and possible ice long before lower roads become slippery.
Stay alert for animals along the road
Moose are regularly encountered in the west-side valley, while elk, mule deer, and coyotes also move across the roadway after sunset. Moose can be difficult to see because their dark coats absorb headlight beams, and their height may place reflected eye shine above a driver’s normal line of sight. Reduce speed through willow-lined sections and avoid stopping in the traffic lane when observing wildlife.
Camera Settings and Equipment That Work at Elevation
Start with settings suited to stars
A full-frame camera with a 14mm to 24mm lens commonly captures the Milky Way at ISO 3200, an aperture between f/1.8 and f/2.8, and an exposure of 10 to 20 seconds. Smaller sensors usually require a shorter exposure to keep stars round. Focus manually on a bright star using magnified live view, then secure the focus ring so gloves or lens adjustments do not move it.
| Subject | Starting exposure | Useful adjustment |
|---|---|---|
| Milky Way | 15 seconds, f/2.0, ISO 3200 | Shorten the exposure if stars trail |
| Moonlit peaks | 5 seconds, f/2.8, ISO 800 | Lower ISO when snow appears overexposed |
| Meteor shower | 10 seconds, f/1.8, ISO 3200 | Use continuous intervals with a brief gap |
Prepare for cold-related failures
Lithium-ion batteries lose capacity quickly in freezing temperatures, and condensation can form when cold equipment enters a warm vehicle. Carry at least one charged spare in an inside pocket. Before returning to heated lodging, place the camera in a closed bag so moisture forms on the bag rather than inside the lens or camera body.
- Use a stable tripod with independently locking legs.
- Bring a lens cloth for frost and windblown moisture.
- Disable long-exposure noise reduction during meteor sequences because it creates gaps.
- Use an intervalometer to reduce camera movement.
- Turn off bright rear displays after confirming focus and exposure.
Planning a Safe Return to the Trailhead
Keep the route shorter than your daylight estimate
Distances feel longer when only a headlamp beam reveals the trail. A junction marker can disappear against snow, and familiar rocks look different from the opposite direction. Save an offline map, record the parking location, and note major turns before sunset. For Stargazing Rocky Mountain National Park trips, lakeside loops and roadside viewpoints usually provide better risk-to-view ratios than backcountry destinations reached through several miles of forest.
Protect night vision without sacrificing navigation
Red light preserves dark adaptation better than white light, but its limited contrast makes roots, ice, and trail edges harder to recognize. Use dim red light at the viewing site, then switch briefly to a stronger beam where footing becomes uncertain. Aim every light toward the ground around other visitors. Drivers should wait until everyone is inside the vehicle before turning on headlights whenever the parking position permits.
Carry the same emergency essentials required for a daytime mountain hike, including water, food, insulation, navigation, and a basic first-aid kit. Add chemical hand warmers and an emergency bivy during cold months. Tell someone the exact viewing location and expected return time because cellular service is absent across significant portions of Bear Lake Road, Trail Ridge Road, and the Kawuneeche Valley.
Choosing Your Stargazing Experience in Rocky Mountain National Park
For the broadest horizon and a manageable elevation, begin with Moraine Park or the Kawuneeche Valley. Sprague Lake suits photographers seeking water and mountain reflections, while Trail Ridge Road provides immense alpine sightlines for visitors prepared for wind, cold, and rapid weather changes. Moon phase should guide the date, and cloud cover on each side of the Continental Divide should guide the final location.
The strongest plan pairs a short approach with a clear exit strategy. Arrive before sunset, inspect the ground, allow time for dark adaptation, and remain alert for wildlife on the return drive. Those practical choices leave more attention for the park’s defining nighttime sight: a mountain skyline reduced to black contours beneath the Milky Way, with the valleys of the Continental Divide extending into darkness below.
Want to keep exploring? Browse all our Rocky Mountain guides and articles for more trip-planning tips and ideas.
Gear & Essentials
Tell us about your trip and we will add what else you will want:
The basics
Worth having in the car whatever the park.
For this trip
Traveling with kids
Bringing a pet
RVing
Backcountry
Winter conditions
On the water
Photography
Accessibility
As an Amazon Associate we earn from qualifying purchases, at no extra cost to you.