


Zion National Park and Bryce Canyon National Park: How to Visit Both on One Trip
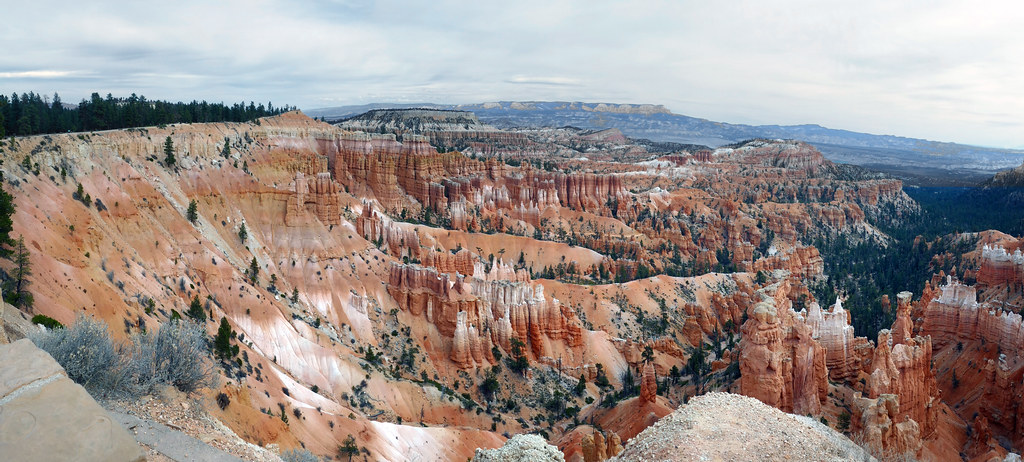
Photo: Bernard Spragg via Flickr (Public Domain Mark)
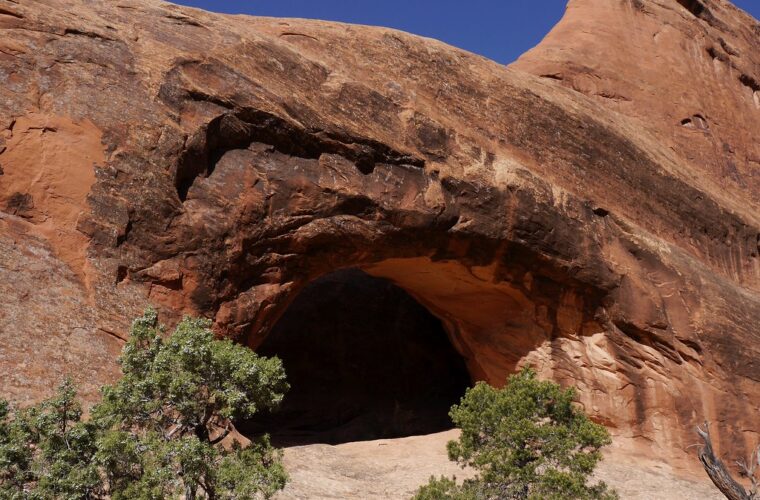
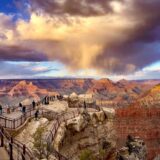
A Zion National Park Bryce Canyon trip can begin at dawn on Zion’s Canyon Overlook Trail, where cool sandstone presses close underfoot before the path reaches a ledge above Pine Creek Canyon. The rising sun catches the pale walls around the Great Arch, while the shaded pockets beside the trail still smell of juniper and damp sand. Two hours up the road, the same morning light reaches Bryce Canyon’s hoodoos from the east, turning the Claron Formation orange and pink. Visiting both parks works because their main visitor areas are roughly 86 miles apart, yet differences in elevation,
Visiting both parks works because their main visitor areas are roughly 86 miles apart, yet differences in elevation, climate, trail access, and transportation require deliberate planning. Our team recommends deciding how many days you have, choosing a travel direction, and accounting for Zion’s canyon logistics before reserving lodging. The framework below covers those decisions and prevents the long drives and missed trail time common on rushed itineraries.
Why Zion National Park and Bryce Canyon Belong on One Trip
The Zion National Park Bryce geology connection
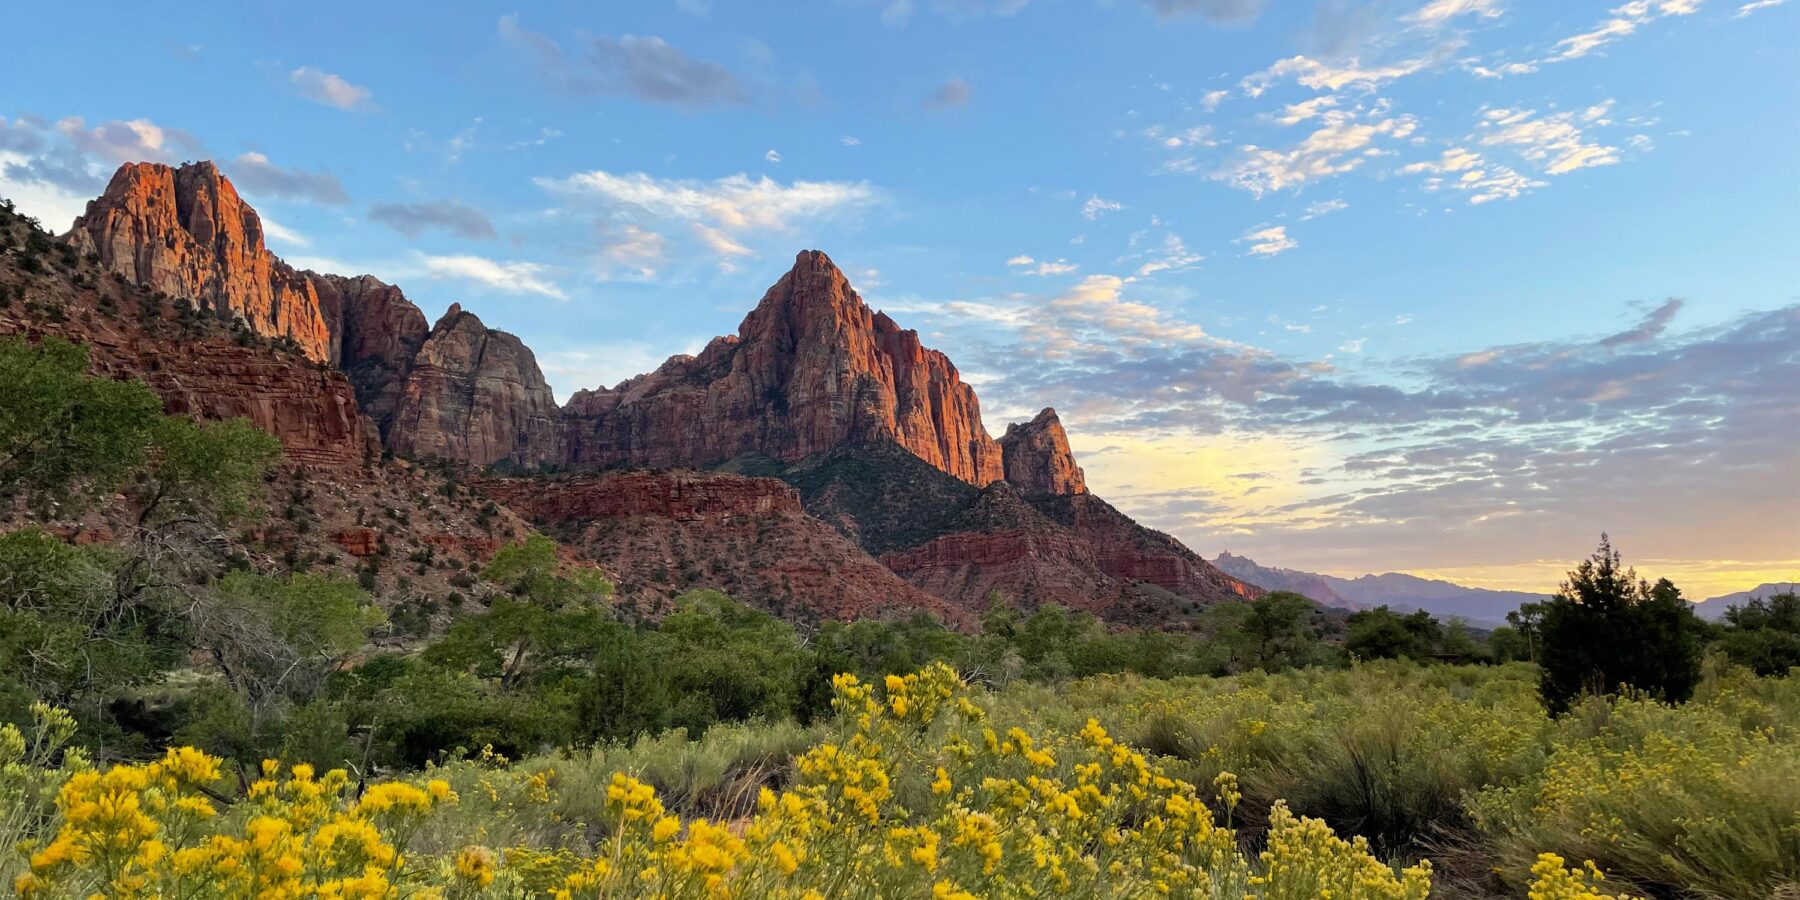
Zion and Bryce occupy different levels of the Grand Staircase, a sequence of sedimentary rock layers extending across southern Utah and northern Arizona. Zion’s defining cliffs consist largely of Navajo Sandstone, lithified remnants of enormous Jurassic sand dunes. The cliffs rise more than 2,000 feet above parts of Zion Canyon, with vertical joints and watercourses controlling how the rock erodes.
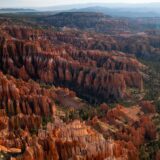
Bryce Canyon sits higher in the sequence, along the edge of the Paunsaugunt Plateau. Its hoodoos formed in the younger Claron Formation, where alternating beds of limestone, mudstone, and siltstone respond differently to erosion. Water enters fractures, freezes, expands, and gradually separates narrow fins into pillars. Bryce receives frequent freeze and thaw cycles because much of its rim stands above 8,000 feet.
Distance, elevation, and driving time at a glance
The direct route follows the Zion-Mount Carmel Highway through Zion’s east entrance, then uses US 89 and Utah 12 to reach Bryce Canyon. Allow about two hours of uninterrupted driving between the visitor centers. Scenic stops, tunnel traffic, wildlife, and road work can extend that considerably, so we treat the transfer as part of the trip rather than squeezing it between two major hikes.
| Planning factor | Zion National Park | Bryce Canyon National Park |
|---|---|---|
| Main landscape | Deep sandstone canyon and high plateaus | Hoodoo amphitheaters along a plateau rim |
| Typical main-area elevation | Zion Canyon is about 4,000 to 4,500 feet | Most overlooks are about 8,000 to 9,100 feet |
| Signature short hike | Canyon Overlook Trail, 1 mile round trip | Navajo Loop Trail, about 1.5 miles |
| Temperature pattern | Hotter, especially on the canyon floor | Cooler, windier, and more prone to snow |
| Time needed for a useful first visit | At least two full days | At least one full day |
How Many Days a Zion National Park and Bryce Canyon Trip Needs
A practical four-day sequence
Four full sightseeing days provide a workable minimum for travelers who want to hike rather than view both parks primarily from overlooks. Zion deserves the larger share because its major trailheads are spread between Zion Canyon, the east side, and Kolob Canyons. Bryce is more compact, with several important viewpoints and trails clustered around Bryce Amphitheater.
- Day one: Enter Zion, orient yourself, and walk the Pa’rus Trail or Watchman Trail.
- Day two: Spend a full day in Zion Canyon, choosing one demanding hike or several shorter riverside walks.
- Day three: Drive east through the Zion-Mount Carmel Highway, hike Canyon Overlook, and continue to Bryce for sunset.
- Day four: Hike below the Bryce Amphitheater rim early, then visit the southern overlooks along the park road.
This schedule assumes that travel days before and after the park visit are separate. If your first day begins with a drive from Las Vegas and your fourth ends in Salt Lake City, the itinerary becomes compressed. Five or six days create room for weather delays, longer hikes, and a slower transfer along Utah 12.
Match the allocation to your hiking plans
Give Zion three days if your priorities include The Narrows, Angels Landing, or the West Rim Trail. The Narrows requires suitable river conditions and specialized footwear, while Angels Landing access involves a permit system. A West Rim outing can consume most of a day even without descending the entire trail.
Give Bryce two days if you want to combine the Queen’s Garden and Navajo Loop trails, walk part of the Rim Trail, and drive to Rainbow Point at 9,115 feet. The popular Queen’s Garden and Navajo combination is roughly 3 miles, but steep switchbacks and elevation make it more strenuous than the mileage suggests.
Avoid the One-Day Zion National Park, Bryce Canyon Mistake
Attempting both parks in one day usually reduces Zion to a shuttle ride and Bryce to a roadside overlook. It also places the interpark drive in the middle of the limited daylight window. If one day is all you have, choose a single park based on season and activity. Zion suits canyon walking and riverside scenery, while Bryce provides easier access to broad views from its rim.
Choose the Direction of Your Zion National Park, Bryce Canyon Itinerary
Travel east from Las Vegas through Zion
Travelers arriving from Las Vegas usually encounter Zion first. The drive to Springdale is approximately 160 miles and commonly takes about three hours before traffic or stops. Continuing east afterward creates a logical progression from Zion’s lower canyon to Bryce’s high plateau, followed by possible onward travel toward Capitol Reef or Salt Lake City.
This direction also places the dramatic Zion-Mount Carmel Highway on the transfer day. The road climbs through switchbacks, enters the historic 1.1-mile tunnel, and emerges among rounded slickrock domes on Zion’s east side. Vehicle restrictions, shuttle operations, permits, fees, and tunnel procedures can change, so confirm current details on the official park site before finalizing transportation.
Approach Bryce first from northern Utah
Drivers coming from Salt Lake City generally reach Bryce before Zion. This order lets the itinerary descend from cool plateau country into Zion Canyon, where temperatures may be considerably warmer. It works especially well in spring or autumn, when Bryce can begin the day below freezing while Zion’s lower trails become comfortable by afternoon.
The westbound approach enters Zion through the east entrance and tunnel. Large views appear suddenly as the highway descends toward Pine Creek and the canyon junction. Build daylight into this drive. Curves, limited pullouts, and wildlife make darkness a poor time to hurry through the park.
Change lodging instead of using one base
Using one hotel for both parks adds nearly four hours of repeat driving each day. We recommend staying near Zion for the Zion portion, then relocating toward Bryce. Springdale provides the most direct access to Zion Canyon, while communities east of Zion can shorten the transfer. Near Bryce, lodging around the park entrance or in nearby gateway communities supports an early trail start.
Plan Around Two Different Mountain Climates
Spring and autumn favor a combined visit
April, May, late September, and October often provide the most manageable balance, but the parks rarely experience identical conditions. Zion Canyon may feel warm while snow or ice remains beside Bryce’s rim. Spring runoff can affect river hiking in Zion, and autumn nights at Bryce regularly fall below freezing.
Early starts matter for different reasons. In Zion they reduce heat exposure and transportation delays. At Bryce they provide clearer light across the amphitheater and firmer trail surfaces before sun softens snow or wet clay. Check weather for each park separately rather than relying on a regional forecast.
Summer heat and winter snow change the itinerary
Summer afternoons in lower Zion can exceed 100 degrees Fahrenheit, making exposed climbs hazardous. Bryce remains cooler, but its elevation increases ultraviolet exposure and allows thunderstorms to develop quickly. Lightning is a serious concern on open rim trails, particularly when dark clouds build over the plateau.
Winter reverses the difficulty. Zion’s lower trails may remain accessible between storms, although shaded ice persists on steep routes. Bryce receives substantially more snow, and traction devices can become essential on paths descending below the rim. Snow also conceals trail edges and increases the effort required to climb back to the plateau.
Pack for the elevation swing
- Carry layered insulation, including a warm outer layer for Bryce mornings.
- Use sturdy footwear with reliable grip for sandstone, mud, ice, and loose gravel.
- Bring sun protection for exposed rims and Zion’s reflective rock surfaces.
- Carry adequate water in both parks, even when temperatures feel cool.
- Add traction devices when Bryce trails are icy or packed with snow.
- Keep a paper map available because mobile coverage is inconsistent along the connecting route.
Coordinate Parking, Shuttles, and Early Starts
Zion Canyon and Bryce Amphitheater require different daily strategies. Zion’s narrow road corridor concentrates visitors at a limited number of trailheads, and seasonal shuttle operations can add waiting time before a hike begins. Bryce spreads traffic among overlooks along an 18-mile park road, although Sunrise Point, Sunset Point, and Inspiration Point still become busy. Set departure times according to trail access rather than sunrise alone.
Build the Zion day around your first trailhead
When shuttle-only access applies on Zion Canyon Scenic Drive, board with everything needed for the day. Returning to lodging for forgotten footwear or food can cost several hours. For The Narrows, exit at the Temple of Sinawava and follow the 2.2-mile round-trip Riverside Walk before entering the Virgin River. For Scout Lookout, use the Grotto stop and expect a sustained climb of roughly 1,000 feet before the permitted Angels Landing section begins.
Use Bryce’s compact layout efficiently
At Bryce, start with a below-rim hike before driving south to the higher overlooks. Sunrise Point and Sunset Point sit about half a mile apart along the Rim Trail, making it practical to descend from one and return at the other. Save Natural Bridge, Agua Canyon, Ponderosa Canyon, and Rainbow Point for later in the day. This sequence avoids repeated parking searches around Bryce Amphitheater and places the longest walk in the cooler morning hours.
Match the Trails to Your Available Energy
The elevation change between parks affects hikers more than mileage suggests. Zion’s heat increases water loss, while Bryce’s thin air can raise breathing and heart rates during climbs. A balanced Zion National Park Bryce itinerary pairs one demanding route with a recovery day rather than scheduling steep hikes back to back. The table below compares combinations that fit common ability levels.
Choose a Zion hike by exposure and water conditions
The Riverside Walk provides canyon scenery without committing to river travel. The Watchman Trail climbs about 400 feet over 3.3 miles round trip and stays exposed to direct sun. Canyon Overlook includes drop-offs, uneven sandstone, and several protected ledges despite its short distance. The Narrows adds cold water, slippery cobbles, and flash-flood exposure, so its difficulty depends heavily on river depth, flow, and weather upstream.
Select a Bryce route with the return climb in mind
Every trail descending into Bryce Amphitheater finishes with an uphill return to the rim. The Queen’s Garden and Navajo combination is the most efficient introduction, passing formations such as Queen Victoria and the narrow walls near Wall Street when that branch is open. Strong hikers can extend the route through Peekaboo Loop, creating the roughly 6.4-mile Figure Eight Combination. Fairyland Loop covers about 8 miles and receives less concentrated foot traffic.
| Trip style | Zion choice | Bryce choice | Key preparation |
|---|---|---|---|
| Easy walking | Riverside Walk | Rim Trail between Sunrise and Sunset points | Sun protection and stable walking shoes |
| Moderate hiking | Watchman Trail | Queen’s Garden and Navajo combination | Water, trekking poles, and an early start |
| Strenuous hiking | Scout Lookout or suitable Narrows travel | Figure Eight Combination | Condition-specific gear and extra recovery time |
Prepare a replacement plan before conditions change
Trail closures, thunderstorms, high water, ice, and extreme heat can remove a centerpiece hike from the schedule. Choose one backup in each park before leaving home. That decision prevents an unsafe attempt driven by disappointment and keeps the day productive when conditions change after arrival.
Replace river and exposed Zion routes
If flash-flood risk or high flow rules out The Narrows, remain out of the river and use established trails on higher ground. During extreme heat, shorten exposed hikes and schedule them near sunrise. Zion’s east-side slickrock and Kolob Canyons can provide alternatives to the main canyon, but both still require weather awareness and adequate water.
Adjust Bryce plans for snow or lightning
Snow and ice make the amphitheater’s steep switchbacks significantly harder, particularly where packed snow becomes polished by foot traffic. Use traction devices when warranted and turn around if footing deteriorates. During thunderstorms, leave rim trails and exposed overlooks rather than waiting beneath a lone tree. Roadside viewpoints can be revisited after the storm has clearly passed.
Avoid the planning errors that consume trail time
- Do not schedule a major hike on transfer day: Tunnel delays, scenic stops, and slow traffic can erase the planned hiking window.
- Do not use one weather forecast: Check Zion Canyon and Bryce Canyon separately because their elevations differ by several thousand feet.
- Do not leave gear buried under luggage: Keep layers, water, traction devices, and hiking shoes accessible during the park transfer.
- Do not underestimate Bryce’s altitude: Slow your pace if headache, nausea, or unusual fatigue develops, and return toward the rim before symptoms worsen.
Build the Trip Around the Differences
A successful combined visit gives Zion the time required for canyon transportation and widely separated trailheads, then uses Bryce’s compact amphitheater for an efficient day of hiking and overlooks. Separate lodging bases, an unhurried daylight transfer, and park-specific weather checks remove the largest logistical problems. They also leave enough flexibility to replace a trail without losing an entire day.
Plan one primary hike and one realistic backup for each park, carry equipment for both desert heat and high-elevation cold, and avoid placing the hardest routes on consecutive days. With those decisions made before arrival, the journey connects Zion’s Navajo Sandstone walls with Bryce’s Claron Formation hoodoos while preserving time to experience each landscape on foot.
Want to keep exploring? Browse all our Bryce Canyon guides and articles for more trip-planning tips and ideas.
Gear & Essentials
Tell us about your trip and we will add what else you will want:
The basics
Worth having in the car whatever the park.
For this trip
Traveling with kids
Bringing a pet
RVing
Backcountry
Winter conditions
On the water
Photography
Accessibility
As an Amazon Associate we earn from qualifying purchases, at no extra cost to you.