Stargazing in Arches National Park: When and Where to See the Night Sky
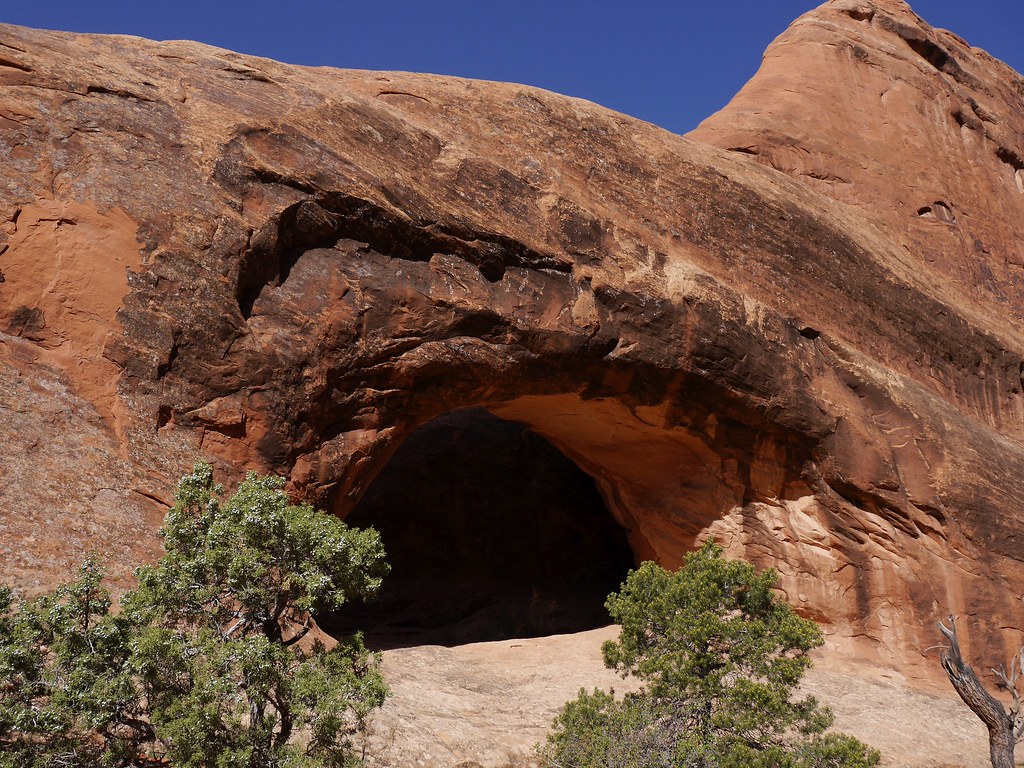
Photo: usareisetipps via Flickr (CC BY-SA 2.0)
Stargazing Arches National Park works especially well because the park road climbs away from Moab’s lights and threads between sandstone fins, towers, and more than 2,000 documented natural arches. The darkest practical viewing areas lie toward the northern end of the 18-mile scenic road, while the Windows Section and Balanced Rock provide recognizable formations that are easier to reach after sunset. Arches covers roughly 76,000 acres on the Colorado Plateau, with elevations ranging from about 4,085 feet near the visitor center to 5,653 feet at Elephant Butte. That elevation, combined with dry desert air and limited development, often
Arches covers roughly 76,000 acres on the Colorado Plateau, with elevations ranging from about 4,085 feet near the visitor center to 5,653 feet at Elephant Butte. That elevation, combined with dry desert air and limited development, often produces exceptional clarity. Our guide explains when darkness is deepest, where to stop, how moonlight changes the landscape, and which locations require extra care at night.
Why Stargazing in Arches National Park Is So Distinctive
Arches became an International Dark Sky Park in 2019, recognizing both its night-sky quality and efforts to reduce unnecessary artificial light. Conditions vary across the park. Moab creates a visible glow along the southern horizon, particularly near the entrance, while Devils Garden is farther from town and usually darker. Passing vehicles can briefly disrupt night vision at roadside viewpoints, so distance from parking lanes matters almost as much as distance from Moab.
Dark skies framed by Entrada Sandstone
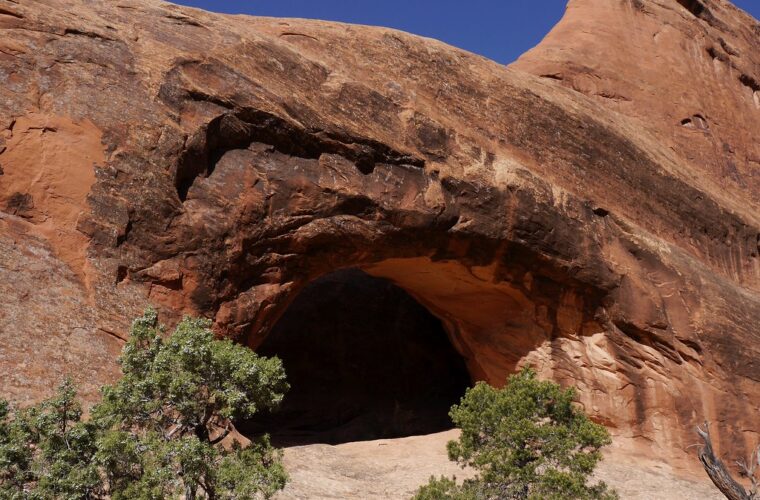
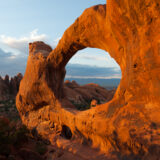
The park’s arches and fins formed largely within Entrada Sandstone, a Jurassic formation divided into layers with different erosion patterns. At night, those vertical forms provide scale and foreground interest that an open desert overlook cannot. Balanced Rock, Turret Arch, the North and South Windows, and the fins around Devils Garden can all be photographed as silhouettes against the Milky Way or illuminated by a low moon.
What the elevation means after sunset
Desert temperatures commonly drop quickly once direct sunlight leaves the sandstone. A warm afternoon can become a cold, windy evening, especially in spring and autumn. Winter nights regularly fall below freezing, while summer evenings may remain hot for hours. Low humidity improves transparency, but windblown dust, wildfire smoke from elsewhere in the region, and monsoon clouds can reduce visibility even when the immediate forecast shows no rain.
Stargazing Arches National Park: When and Where to See the Night Sky
The most reliable strategy is to arrive before sunset, learn the parking area and walking route in daylight, then remain through astronomical twilight. Full darkness generally begins around 90 minutes after sunset, although the interval approaches two hours near the summer solstice. Allow at least 20 minutes away from bright screens and headlights for your eyes to adapt.
When to Go Stargazing in Arches National Park by Moon Phase
A new moon provides the darkest background for the Milky Way, faint meteors, and dense star fields. The few nights on either side are usually almost as productive. A first quarter moon lights the sandstone during the evening before setting later at night. A waning crescent leaves the evening dark and rises before dawn. Full moonlight washes out faint stars, but it reveals cliff textures and can make short, familiar trails easier to follow.
Milky Way and meteor viewing windows
The bright galactic core is generally visible from spring into autumn. In early spring it appears before dawn toward the southeast. By June and July it rises during the evening and arcs across the southern sky. During early autumn, look southwest soon after darkness. The Perseid meteor shower peaks around August, while the Geminids occur in December, but moon phase and cloud cover often matter more than the shower’s advertised hourly rate.
Seasonal conditions at a glance
| Season | Typical night conditions | Planning advantage | Main concern |
|---|---|---|---|
| March to May | Cool to cold, often windy | Milky Way before dawn, moderate evening temperatures | Rapid weather changes and exposed trails |
| June to August | Warm evenings, hot ground, occasional storms | Galactic core visible during convenient hours | Heat, lightning, and summer monsoon clouds |
| September to November | Cooler, increasingly long nights | Earlier darkness and comfortable evening starts | Cold after midnight and shorter Milky Way window |
| December to February | Cold, with possible snow or ice | Long nights and crisp air between storms | Icy slickrock, freezing temperatures, and limited footing |
Best Locations for Stargazing in Arches National Park
The paved scenic road connects the park’s principal night-sky areas, but each location offers a different balance of darkness, foreground scenery, walking distance, and exposure to headlights. The road ends at Devils Garden, about 18 miles from the entrance. There is no public shuttle linking these viewpoints, so visitors need their own transportation and enough fuel for a slow nighttime return.
Balanced Rock for an easy first stop
Balanced Rock stands beside the scenic road roughly halfway between the entrance and Devils Garden. Its short loop is about 0.3 mile, making it one of the simplest places to establish a foreground composition without a long night hike. The formation rises 128 feet above its base. Position yourself away from the parking area and shield your eyes when vehicles approach, since headlights sweep across parts of the trail.
Under a clear sky, the sandstone block becomes a black, sharply cut mass overhead. Gravel shifts underfoot, cooling air drains across the open flats, and traffic noise fades between passing cars. The La Sal Mountains form a serrated southeastern horizon, while the broad northern sky remains relatively unobstructed. That openness makes it easier to identify constellations than inside the park’s narrow sandstone corridors.
The Windows Section for arches against the stars
The Windows Section contains North Window, South Window, Turret Arch, and Double Arch within a compact road spur. The main Windows loop is approximately 1 mile, while the walk to Double Arch is about 0.6 mile round trip. These formations provide some of the park’s strongest night compositions, but uneven steps, slickrock, and confusing social paths make daylight reconnaissance essential.
Where moonlight helps most
Low angled moonlight can illuminate the inner walls of North Window and Turret Arch while leaving stars visible in the darker part of the sky. Around a full moon, Double Arch’s enclosed bowl becomes much brighter than an exposed overlook. Photographers should avoid shining lights onto arches when other visitors are working, and everyone should keep off fragile biological soil crust beside established paths.
Panorama Point and Devils Garden for wider horizons
Panorama Point offers broad views with less walking than the major arch trails, making it useful for meteor watching and constellation identification. Devils Garden lies farther north and generally experiences less glow from Moab. The trail to Landscape Arch is about 1.9 miles round trip, but traveling beyond it after dark involves narrow fins, steep slickrock, and route-finding that should be reserved for hikers already familiar with the terrain.
Night Access, Navigation, and Basic Preparation
Arches is generally accessible throughout the night, although temporary road closures, timed-entry systems, entrance requirements, and construction can affect a plan. Check the official park site for current access rules, fees, fire restrictions, and closures before leaving Moab. Download maps in advance because cellular service becomes unreliable farther into the park, and mark the location of the vehicle before walking away from a crowded trailhead.
A safe arrival sequence
- Reach the chosen viewpoint before sunset and inspect every junction, curb, stair, and slickrock section.
- Park only in a marked space and keep roads, pullouts, and emergency access clear.
- Set a return time and tell someone which named viewpoint or trailhead you are using.
- Switch phones and headlamps to red light, then reduce brightness to preserve night vision.
- Walk at a controlled pace, watching for ledges, cactus, loose sand, and biological soil crust.
What our team carries after dark
- Two light sources: A red-capable headlamp plus a backup light with fresh batteries.
- Offline navigation: A downloaded park map and a physical map for device failure.
- Insulating layers: A wind-resistant outer layer, warm hat, and gloves outside midsummer.
- Water: Enough for the drive and walk, since dry air masks perspiration.
- Stable footwear: Shoes with reliable grip for sand-covered slickrock and stone steps.
- Tripod or reclining chair: A tripod for long exposures, or a low chair for sustained meteor watching without neck strain.
Photographing Stars and Sandstone
Visitors researching Stargazing Arches National Park locations often focus on the Milky Way, but the foreground determines whether an image feels specific to Arches. Scout arch openings, fin edges, and tripod positions while sunlight remains. A wide lens can place an entire formation beneath the sky, while a 24 to 35 mm lens isolates details such as the top of Balanced Rock or the opening of Turret Arch.
Starting settings for sharp stars
Manual focus on a bright star using magnified live view, then secure the focus ring so it cannot shift. Shoot RAW files and disable long exposure noise reduction if rapid consecutive frames matter. Modern high resolution sensors reveal star movement quickly, so exposures shorter than the traditional 500 rule suggests often produce cleaner points.
| Subject | Starting exposure | Useful adjustment |
|---|---|---|
| Milky Way | 14 to 20 mm, f/2.8, 10 to 20 seconds, ISO 3200 | Shorten exposure if stars appear elongated |
| Moonlit arch | 20 to 35 mm, f/2.8 to f/4, 5 to 15 seconds, ISO 800 | Reduce ISO when sandstone highlights clip |
| Star trails | Repeated 20 to 30 second frames | Leave one second or less between frames |
A low impact shooting sequence
Compose before darkness, extend tripod legs on durable rock or established trail surfaces, and avoid crushing biological soil crust. Capture several identical sky frames for noise reduction, followed by a lower ISO foreground exposure if moonlight provides sufficient detail. Artificial light painting can disrupt wildlife and other photographers, so favor silhouettes, natural moonlight, or carefully blended exposures made without illuminating the landscape.
Finding celestial north and the galactic core
Polaris sits above the northern horizon and becomes the center of circular star trails. The Milky Way core remains in the southern half of the sky from Arches, making orientation important when choosing which side of an arch to photograph. A planetarium app downloaded for offline use can preview the core’s position by date and hour before the trip.
Protecting the Darkness Around You
Night vision is easily reset by white light. A bright phone screen, unlocked vehicle, or headlamp aimed across a viewpoint can affect other visitors for 20 minutes or longer. Cover interior vehicle lights when possible, face lamps downward, and complete equipment changes at the vehicle rather than repeatedly opening doors beside an active viewing area.
Share popular foregrounds carefully
Balanced Rock and the Windows attract photographers who may be recording long exposures or time lapses. Walk behind tripods where the terrain allows, announce your approach quietly, and ask before using any light near a camera. Keep music and amplified audio off. Sound travels far across open desert flats after traffic diminishes.
Wildlife remains active after sunset
Kangaroo rats, bats, owls, coyotes, and other desert animals use cooler nighttime hours to feed or travel. Drive slowly because small mammals can cross the scenic road with little warning, particularly near vegetated washes. Never surround or follow an animal for a photograph. Food scraps also attract wildlife, so pack out crumbs, fruit peels, and other organic waste.
Two Practical Plans for Stargazing in Arches National Park
A workable itinerary accounts for sunset, twilight, moonrise, and the drive back toward Moab. Avoid changing locations repeatedly after full darkness. Each move introduces headlights, navigation delays, and another adjustment period for your eyes. Two carefully chosen stops usually produce a better evening than rushing through every overlook.
A simple evening with minimal walking
Begin at Balanced Rock before sunset, complete the loop in daylight, and remain through astronomical twilight. Continue to Panorama Point for a broader horizon once the first stars appear. This pairing works well for families, first-time visitors, and meteor watchers because both areas avoid long trail commitments.
- Check sunset, moonrise, and cloud forecasts before entering the park.
- Allow time for night vision to recover after driving between stops.
- Set a firm departure time before fatigue affects the return drive.
- Use a reclining chair or blanket only on durable, previously disturbed ground.
A photography-focused evening
Scout Turret Arch and the Windows during late afternoon, then photograph their openings through twilight. Move north only after finishing that composition, choosing Panorama Point for open sky or Devils Garden for darker conditions. Save Landscape Arch for a separate night unless every member of the group already knows the trail and its junctions in daylight.
Planning a Clearer Night Under Arches
The strongest plan combines three factors: a suitable moon phase, a familiar viewing area, and enough clothing to remain comfortable after the temperature drops. Balanced Rock provides the easiest recognizable foreground, the Windows reward careful daylight scouting, and the northern end of the park generally provides greater separation from Moab’s glow.
Arrive before sunset, limit the evening to one or two locations, and preserve darkness for everyone around you. With offline navigation, restrained lighting, and realistic expectations about clouds and moonlight, the park’s arches become useful celestial frames rather than nighttime obstacles. That preparation leaves more time to watch the sky and less time solving avoidable problems in the dark.
Want to keep exploring? Browse all our Arches guides and articles for more trip-planning tips and ideas.
Gear & Essentials
Tell us about your trip and we will add what else you will want:
The basics
Worth having in the car whatever the park.
For this trip
Traveling with kids
Bringing a pet
RVing
Backcountry
Winter conditions
On the water
Photography
Accessibility
As an Amazon Associate we earn from qualifying purchases, at no extra cost to you.